Welcome back to Document Structure and Layout! This is the third lesson in the course. In the first two lessons, you built a clear heading hierarchy with sections and subsections, then used that hierarchy to generate an automatic table of contents. Together, those skills give your documents professional structure and top-level navigation.
Now we turn our attention to organizing content within those sections. Many kinds of information — instructions, checklists, outlines — read much better as a list than as a block of prose. In this lesson, you will learn how to create bulleted lists and numbered lists in LaTeX, and how to nest one list type inside another to represent grouped steps, categorized items, or structured outlines.
Think about a recipe, a set of assembly instructions, or a packing checklist. In each case, the information is best presented as a vertical list rather than a dense paragraph. Lists break content into short, scannable pieces so the reader can quickly follow steps, compare options, or see categories at a glance.
LaTeX provides two core list environments for this purpose. One produces bulleted (unordered) lists for items where sequence does not matter, and the other produces numbered (ordered) lists for items where the order is important. Both environments use the same simple building block — the \item command — so once you learn one, the other feels immediately familiar.
To create a bulleted list, wrap your items in the itemize environment. Each entry begins with the \item command, and LaTeX automatically places a bullet symbol in front of it. Here is a minimal example:
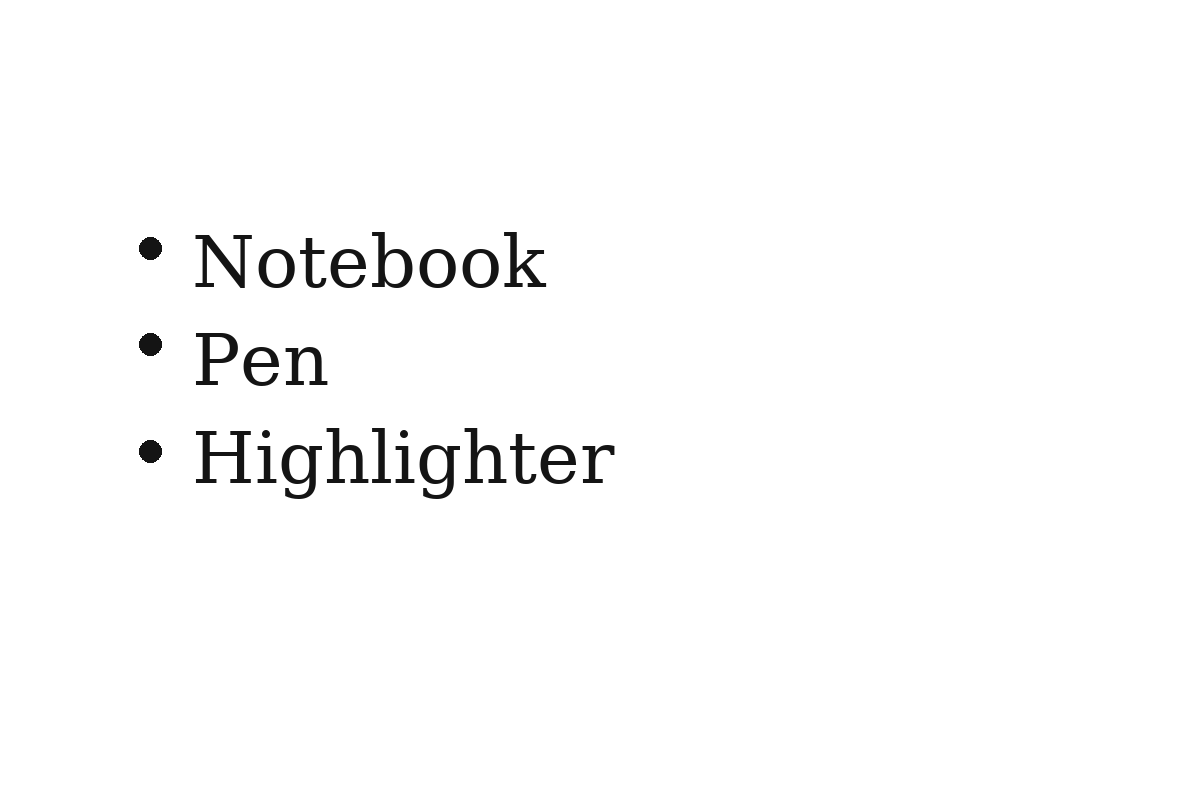
When compiled, this produces a vertically spaced list with a bullet (•) before each entry. Notice that you did not type any bullet characters yourself — LaTeX handles the formatting, just as it handled section numbering in earlier lessons. The indentation inside the source code is optional but helps keep your .tex file readable.
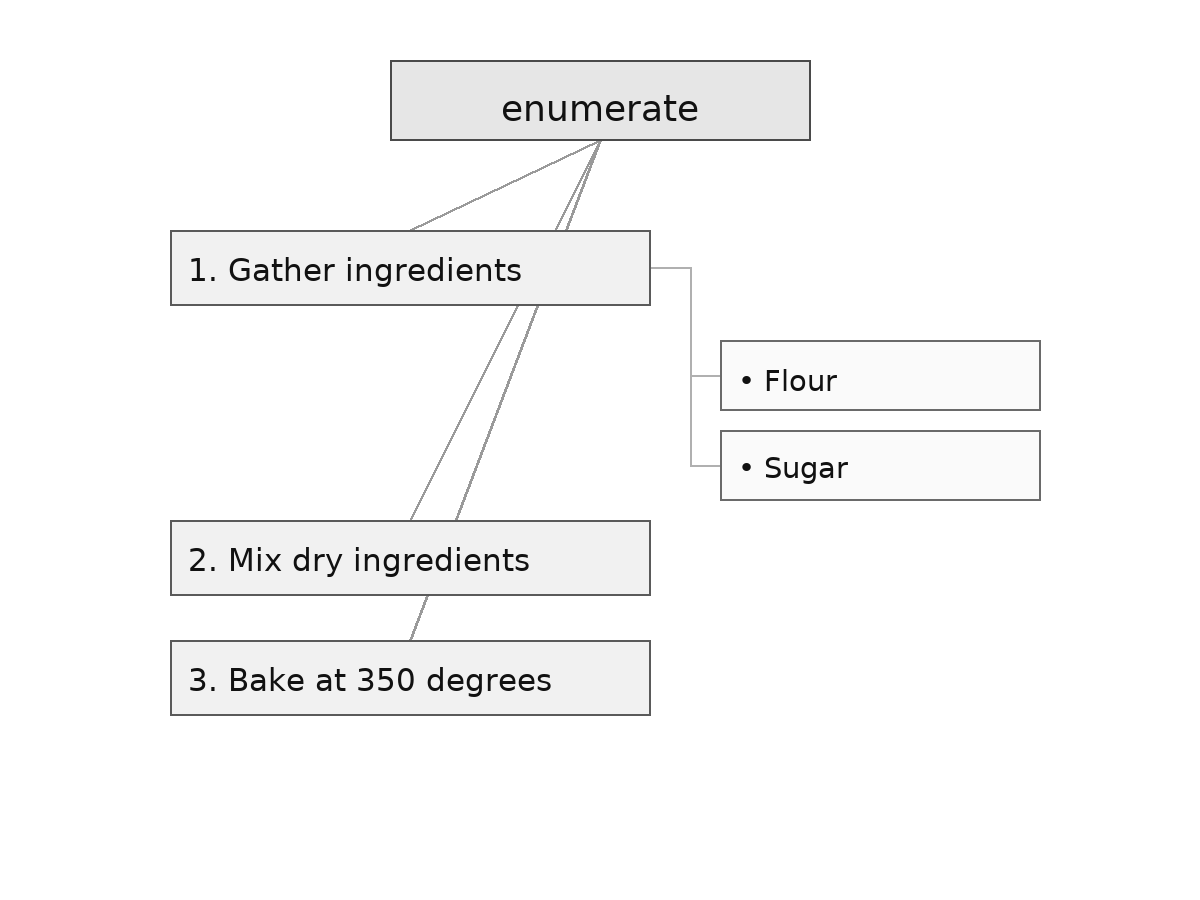
When the order of items matters — think step-by-step instructions or a ranked list — switch from itemize to the enumerate environment. The syntax is almost identical; the only change is the environment name:
This time, LaTeX replaces the bullets with sequential numbers: 1., 2., 3., and so on. If you later insert a new \item between existing ones, all the numbers update automatically — you never need to manage the numbering by hand.
Here is a quick side-by-side comparison of the two environments:
| Environment | Marker Style | Use When |
|---|---|---|
itemize | Bullet (•) | Order does not matter |
enumerate | Number (1, 2, 3…) | Order matters |
Both environments start with \begin{...} and end with \end{...}, and every entry inside uses the same \item command. Choosing between them is simply a question of whether sequence matters for the content you are presenting.
Real documents often need sub-items. For example, a numbered procedure might have a step that contains several bullet points of detail. LaTeX handles this by letting you open a new list environment inside an existing \item. Here is an example where an ordered list contains a bulleted sub-list under the first step:
The key rule is straightforward: the inner environment must be opened and closed entirely within the parent \item. LaTeX automatically indents the nested list and changes the bullet style (for example, from • to –) so the reader can visually distinguish the two levels. You can also nest an enumerate inside an itemize, or nest lists of the same type — the pattern works the same way every time.
Let's put nesting to work in a practical scenario. Imagine you are preparing a travel packing checklist where each category is a bullet point, and one category includes a specific order for packing:
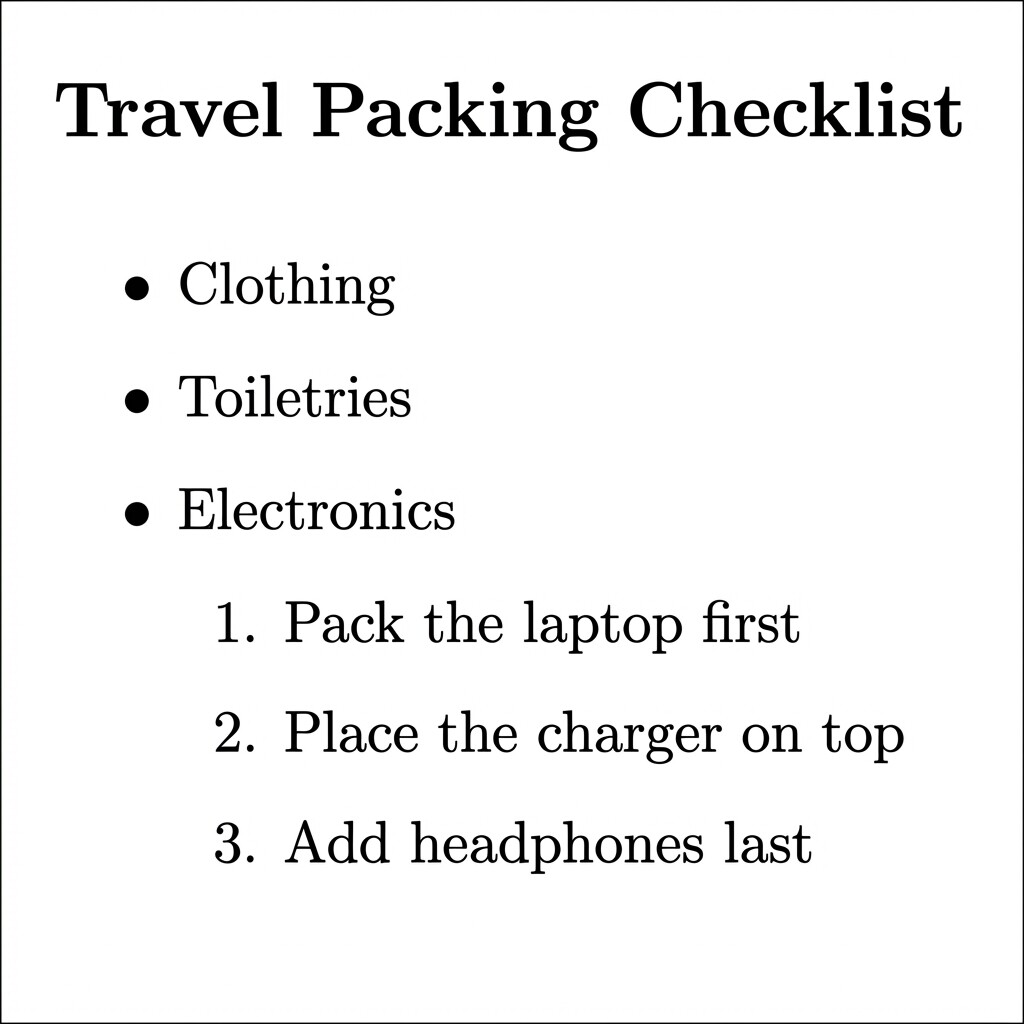
The outer itemize groups the categories with bullets, while the inner enumerate under "Electronics" specifies a packing order with numbers. After compilation, the output clearly shows two visual levels: bulleted categories on the left and indented numbered steps beneath one of them. This pattern is useful any time a particular item in a list deserves its own ordered or detailed breakdown.
In this lesson, you learned the two fundamental list environments in LaTeX: itemize for bulleted lists and enumerate for numbered lists. Both rely on the \item command for each entry, and the only difference between them is the environment name and the marker style. You also saw that nesting one list inside another is as simple as opening a new environment within a parent \item, giving you the flexibility to represent layered, real-world information.
Up next, you will put these list-building skills to work in a series of hands-on exercises. You will start with a simple bulleted list, move on to a numbered list, and then tackle nested combinations — including your own travel packing checklist — entirely on your own.
