Welcome back to the second lesson of our Advanced Rendering and Visual Effects course! Having mastered realistic materials with specular maps, we are now ready to explore one of the most versatile techniques in modern graphics: multi-perspective rendering with framebuffers. This powerful approach allows us to render scenes from multiple viewpoints, opening doors to advanced effects like security camera monitors, mirrors, portals, and complex post-processing pipelines.
In this lesson, we will implement a system that renders a 3D scene to an off-screen buffer and then displays that rendered content on a virtual monitor within our main scene. We will also create a dual-camera system that lets you switch between viewing the monitor room and seeing the world from the virtual camera's perspective. This foundational technique is essential for countless advanced visual effects and will significantly expand your rendering capabilities.
Before we dive into the code, let's build our intuition for what framebuffers are and why they are so revolutionary. A framebuffer is a collection of buffers — such as color, depth, and stencil — that can serve as the destination for rendering operations. While we normally render directly to the screen's default framebuffer, OpenGL allows us to create our own custom framebuffers to render scenes into textures instead.
Think of a custom framebuffer as a virtual canvas that exists in your GPU's memory. Instead of drawing your 3D scene directly onto the screen, you can draw it onto this virtual canvas first. Once your scene is captured as a texture, you can use that texture anywhere you need it: display it on a monitor, apply post-processing effects like blur or color correction, or even use it as a reflection map on a shiny surface. This enables multi-pass rendering, where a scene is rendered multiple times to achieve a complex final image.
Let's examine how we create and manage a framebuffer object. Our Framebuffer class encapsulates all the OpenGL setup and provides a clean interface for working with off-screen rendering targets.
The class stores three key OpenGL handles: FBO for the framebuffer object itself, colorTexture for the rendered image, and depthBuffer for depth testing. The public interface is straightforward: bind() activates the framebuffer as the rendering target, unbind() returns to the default screen framebuffer, and resize() handles window size changes. The constructor calls the private create() method to set up all the OpenGL objects, while the destructor uses cleanup() to properly release GPU resources.
The first step in create() is to generate the framebuffer itself and a color texture to render into.
For our 3D scene to render correctly inside the framebuffer, it needs a depth buffer for proper depth testing. Without it, objects would not occlude each other correctly.
Here, we use a renderbuffer object for depth storage. Unlike a texture, a renderbuffer is optimized for writing and is generally more efficient when you don't need to read the data back in a shader. We create a renderbuffer with a GL_DEPTH24_STENCIL8 format, which provides 24 bits for depth information and 8 bits for stencil operations, and attach it to the framebuffer. Now our off-screen rendering will have full depth perception.
Our application employs three distinct shader programs, each serving a specific purpose in our rendering pipeline. This separation allows us to optimize each shader for its particular task and keep our code organized.
The sceneShader handles our complex 3D lighting with normal and specular maps, building on what we learned previously. The planeShader is specialized for displaying the framebuffer's texture on the monitor geometry within our 3D scene. Finally, the screenShader is a simple shader for rendering the framebuffer's texture as a fullscreen effect. Each is tailored to its role, leading to better performance and clarity.
The plane shader, which draws our virtual monitor, includes a nice visual touch: it adds a border around the displayed content to simulate a monitor bezel.
This shader checks the fragment's texture coordinates (vUV) to see if it falls within a 5% border region. If it does, it colors the fragment dark gray. Otherwise, it calculates scaledUV to remap the texture coordinates to the inner rectangle, ensuring the captured scene fills the "screen" area perfectly without distortion. This small detail makes our virtual monitor feel much more convincing.
Our application features two independent cameras: one to navigate the "real world" containing the monitor, and another "virtual" camera whose view is rendered to the monitor.
The gRenderToFramebuffer boolean flag controls which view mode is currently active: when true, we display the virtual camera's perspective as a fullscreen effect; when false, we show the monitor room with the virtual camera's view displayed on the monitor plane. The input system intelligently directs keyboard and mouse controls to the active camera based on this flag. When you are looking at the monitor in the 3D scene, you control the realWorldCamera. When you switch to the fullscreen virtual view, your controls are seamlessly transferred to the virtualCamera. This creates an intuitive user experience in which you always control the perspective you are currently seeing.
The core of our technique is a two-pass rendering pipeline. In each frame, we render our 3D model twice: first to the off-screen framebuffer, and then to the main screen.
The first pass captures what the virtualCamera sees and stores it in our framebuffer's color texture. The second pass renders the main scene, which uses that captured texture to display content on our virtual monitor. This separation is incredibly powerful, as it allows each view to have completely independent cameras, projection matrices, and even different rendering settings.
We provide a seamless way to switch between viewing the monitor room and viewing the virtual camera's feed fullscreen using the F key.
The gFKeyPressed boolean acts as a simple debounce mechanism, ensuring the view toggles only once per key press rather than every frame the key is held down. The global gRenderToFramebuffer flag controls which view is rendered in the second pass, demonstrating how framebuffers can be used for both embedded displays and fullscreen effects.
The final stage of our rendering loop uses the gRenderToFramebuffer flag to decide what to draw in the second pass.
If we are in fullscreen mode, we draw a simple quad that covers the entire screen and texture it with the framebuffer's content. Note that we temporarily disable depth testing, as it's unnecessary overhead for a flat 2D quad. If we are in the monitor room view, we render the 3D plane using its specialized shader and the same framebuffer texture. This logic cleanly separates the two distinct visual outcomes.
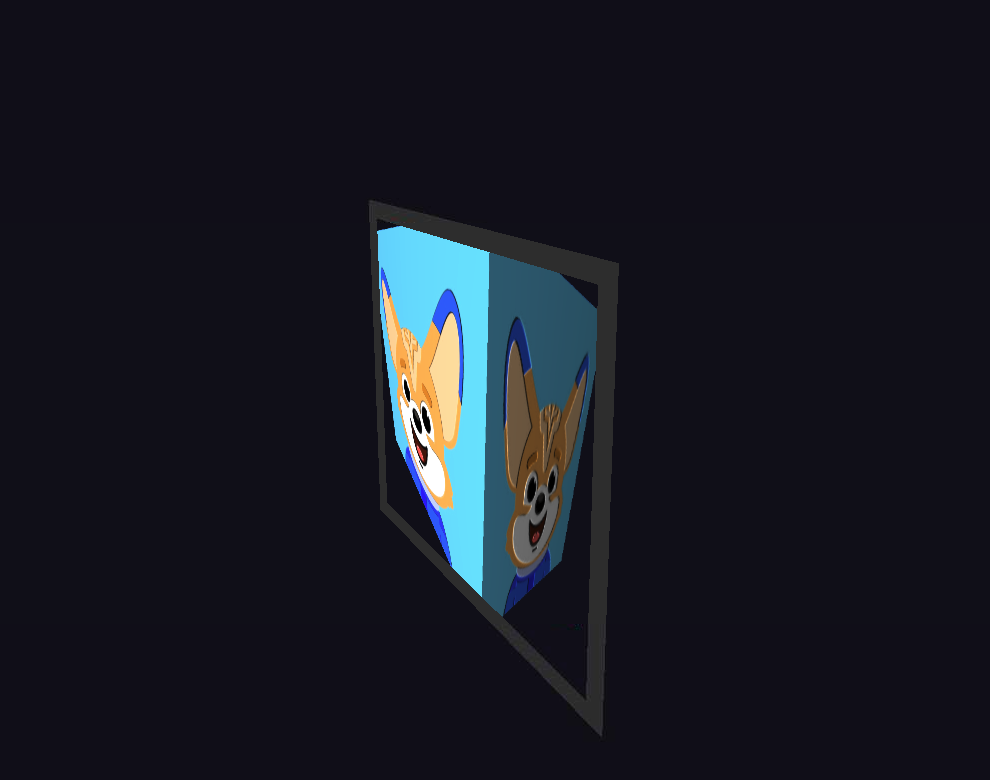
The implementation creates a compelling dual-perspective system where a virtual monitor within the 3D scene displays a live feed from a second camera. The monitor features a realistic dark gray bezel that frames the rendered content, making it appear as an actual display device embedded in the 3D world. The framebuffer technique ensures that the monitor's display updates in real-time, showing exactly what the virtual camera sees from its current position and orientation.
Pressing the F key seamlessly switches between viewing the monitor room and experiencing the virtual camera's perspective in fullscreen mode. The dual-camera system provides intuitive controls: you can navigate around the monitor room with standard WASD movement, then switch to fullscreen mode to control the virtual camera and observe how your movements affect what appears on the monitor when you switch back. This creates a dynamic and interactive experience that demonstrates the versatility and power of framebuffer-based rendering techniques.
In this lesson, you learned to implement a multi-perspective scene by rendering to a custom framebuffer object. We covered creating color and depth attachments, managing a multi-pass rendering pipeline, and handling multiple independent cameras to create dynamic, interactive views. This powerful technique of separating the rendering process from the final display is a cornerstone of modern graphics programming.
These skills form the foundation for countless advanced effects, from mirrors and portals to sophisticated post-processing systems. The upcoming practice section will give you hands-on experience with these concepts, allowing you to solidify your understanding and experiment with the creative possibilities that framebuffers unlock.
