Welcome to the final lesson of Your First LaTeX Document! This is lesson six of six, and completing it means you will have finished your very first LaTeX course. Over the previous five lessons, you built documents from scratch, learned how commands and environments work, styled text with bold and italic formatting, and controlled font size with switch-based commands and scoping. Today we turn our attention to a different question: not how text looks, but where it sits on the page — left, center, or right.
By the end of this lesson, you will know how to use three alignment environments to position text exactly where you want it, and how to keep each alignment change neatly contained so it does not affect the rest of your document.
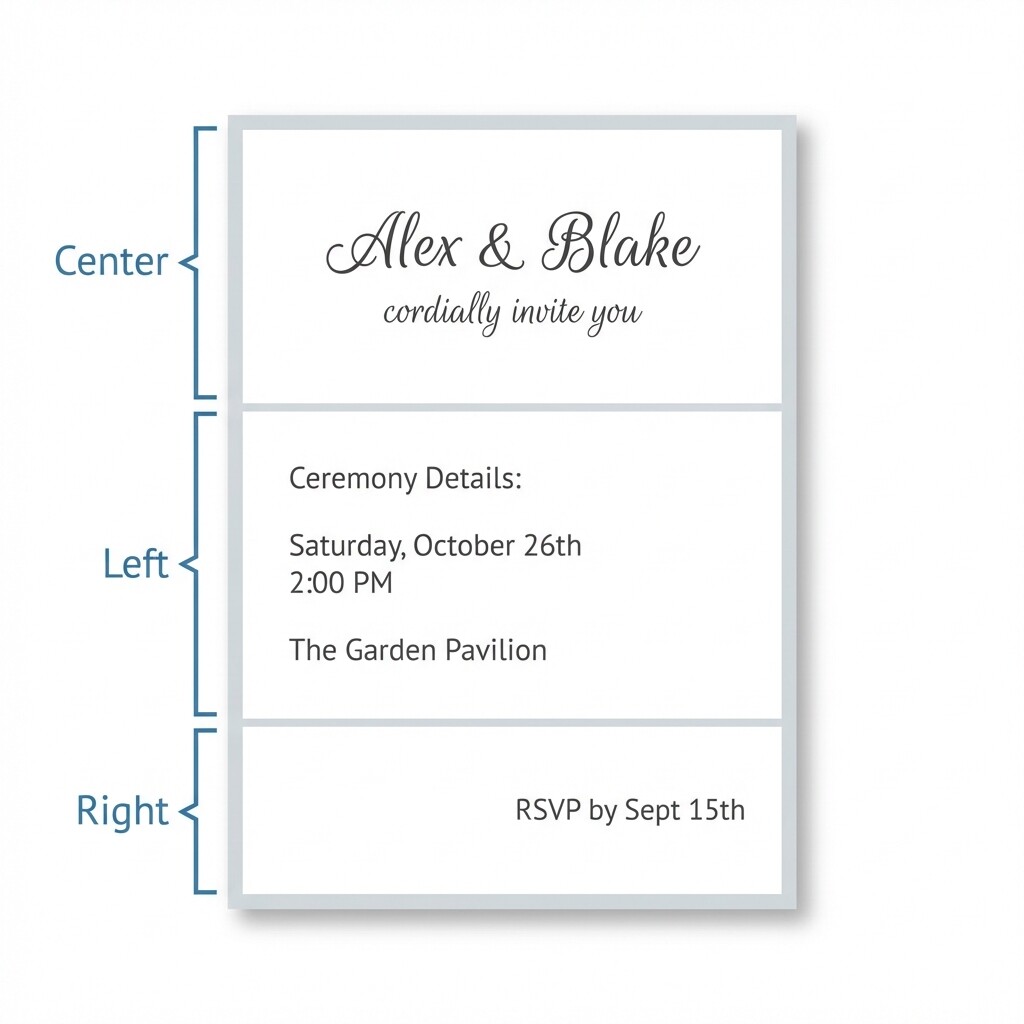
By default, LaTeX justifies every paragraph — stretching word spacing so text sits flush against both the left and right margins, just like most books and articles you read every day. But not every piece of text belongs there. Think about a wedding invitation: the couple's names are centered for emphasis, the ceremony details might sit along the left margin for easy reading, and the reply-by date could be pushed to the right as a subtle closing note. Each block of text has a natural position that matches its role.
In LaTeX, we control this placement using environments — the \begin{}…\end{} pattern you practiced in Lesson 3. There are three alignment environments, one for each position, and they all follow the exact same structure.
The center environment places every line of text inside it at the horizontal middle of the page. You already know the \begin{}…\end{} pattern from Lesson 3, so the syntax below should feel familiar — only the environment name is new:
Everything between \begin{center} and \end{center} appears centered in the compiled PDF. The paragraph that follows returns to the default justified alignment, because the environment acts as a boundary — just like the group boundaries you worked with in Lesson 5. Alignment stays inside the environment, and the surrounding text is never affected.
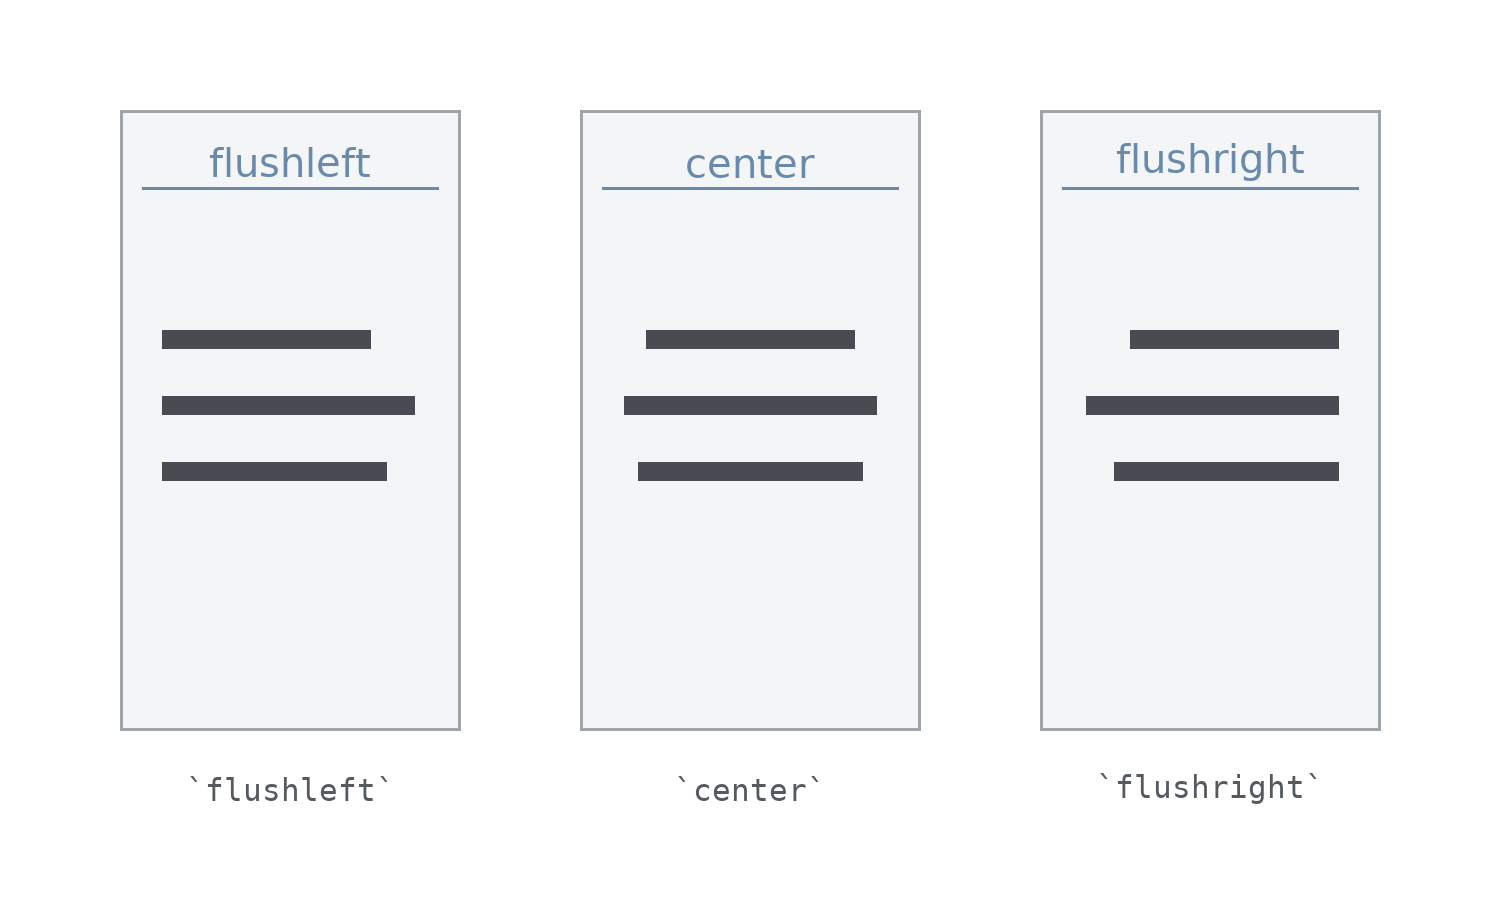
For left-aligned text, LaTeX provides the flushleft environment. Unlike the default justified alignment, flushleft leaves the right edge ragged — text is anchored to the left margin but lines end wherever a word naturally falls, without stretching spaces to fill the line.
For right-aligned text, use the flushright environment. It pushes every line inside it to the right margin. Here is a short document that demonstrates both:
The three environments are easy to remember as a set:
| Environment | Alignment | Typical Use |
|---|---|---|
center | Center | Titles, headings, labels |
flushleft | Left (ragged right) | Informal layouts, narrow columns |
flushright | Right | Dates, signatures, notes |
All three share exactly the same syntax pattern: \begin{name} … \end{name}. The only thing that changes is the environment name between the braces.
One of the most important points about these alignment environments is that each one controls only the text inside it. Once the environment ends, the surrounding text returns to its previous alignment with no extra work on your part. Consider this example:
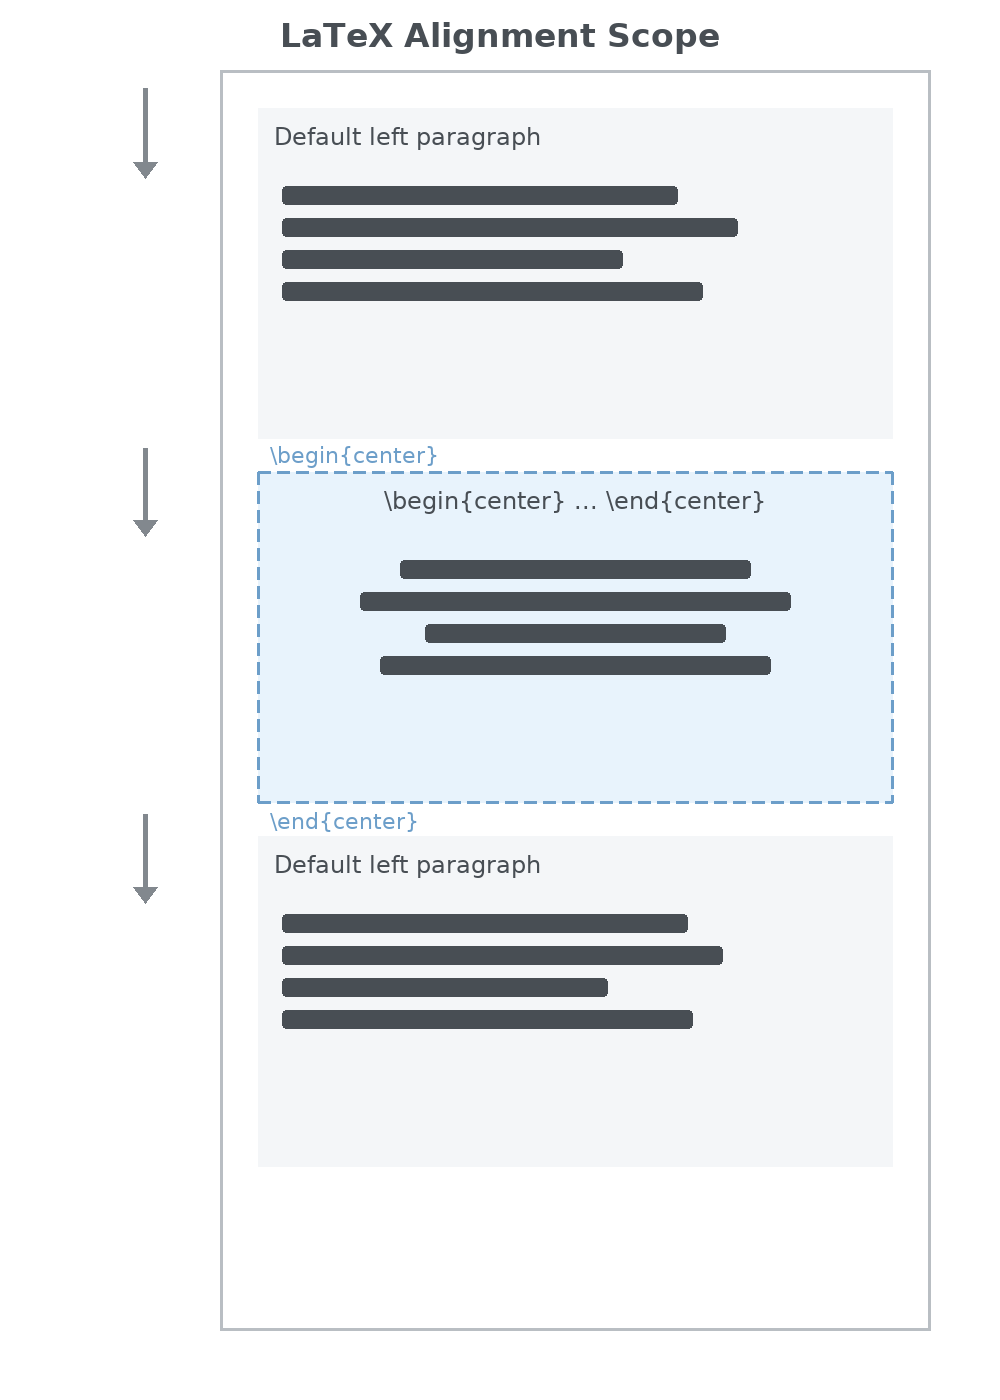
You do not need to manually "turn off" centering after the environment ends — the \end{center} boundary does that automatically. This is the same scoping principle you relied on with brace-grouped size commands in the previous lesson. In LaTeX, environments are reliable fences: what happens inside stays inside.
Real documents often mix several alignments on the same page. Let's put all three environments together in a small meeting agenda where the title is centered, the items are left-aligned, and the date sits on the right:
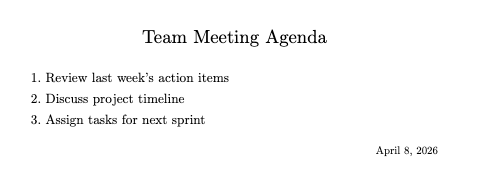
Each section of the document sits at a different horizontal position, yet no block interferes with the others because every alignment lives inside its own environment. Notice that we also combined a size command (\Large) with the center environment. Mixing formatting techniques inside an environment is perfectly fine — the brace group keeps the size change scoped, and the environment keeps the alignment scoped.
In this lesson, you learned how to control text alignment using three LaTeX environments: center, flushleft, and flushright. Each one positions the text inside it and automatically resets when it ends, keeping the rest of your document untouched. This scoping behavior is consistent with everything you have learned about groups and environments throughout this course.
With alignment complete, you have now covered every core skill in Your First LaTeX Document: workflow, document structure, syntax, emphasis, size, and alignment. Head into the practice exercises to center a headline, compare left and right alignment side by side, and build a complete meeting agenda with all three environments working together — a strong finish to your first LaTeX course!
