Explain Models Clearly
🎉 Introduction
Welcome to the final lesson of Understand and Use Math Models in Real Life! Over the first three lessons, you practiced working with models: substituting values and interpreting results, estimating to catch errors, and identifying boundaries, allowed ranges, and endpoint rules. Now you are ready for the communication skill that ties those ideas together: explaining what a model means.
In this lesson, you will learn to:
- Label each part of a model by identifying variables, coefficients, constants, operators, and relation symbols.
- Connect the parts in plain language by describing what gets multiplied, added, compared, limited, or set equal.
- State the whole model clearly so someone with no math background can understand what the expression, equation, or inequality says about a real situation.
Clear explanations matter because a correct model can still be misunderstood or misused if people do not know what its pieces represent. Imagine a coworker hands you a formula used to calculate shipping costs and asks, "What does this actually mean?" Computing an answer is useful, but explaining the model is what turns math into a communication tool. Think of it this way: the math is the engine, but the explanation is the steering wheel. When you can describe a model in your own words, you can help others use it correctly — and you prove that you truly understand it yourself.

Reading a Model Part by Part 📖
Before you can explain a whole model, you need a reliable method for breaking it down. Every algebraic model is built from a small set of building blocks, and recognizing them is the first step toward a clear explanation.
| Building Block | What It Usually Represents | Example |
|---|---|---|
| Variable (letter) | A quantity that can change | = hours worked |
| Coefficient (number multiplied by a variable) | A rate or per-unit amount | → $18 per hour |
| Constant (standalone number) | A fixed amount that does not change | → a flat $250 bonus |
| Operator (, , , ) | How quantities combine | means the amounts are added together |
| Relation symbol (, , , , ) | How the left side relates to the right side | means "is at most" |
When you sit down to explain a model, start by labeling every piece using this table. Once each part has a plain-language tag, the full explanation almost writes itself. Let's see how this works across the three types of models you have studied: expressions, equations, and inequalities.
Explaining an Expression 🧮
Remember: an expression calculates a quantity but does not set it equal to anything or place a limit on it.
Let's walk through an example: A rideshare app charges a flat fee plus a per-mile rate. The fare model is:
where is the number of miles driven. Here is the part-by-part breakdown:
- m — the number of miles of the trip (the quantity that changes).
- 2.75 — the per-mile charge in dollars (the rate).
- 2.75m — the mileage portion of the fare: $2.75 multiplied by however many miles you travel.
- 5 — a fixed base fare of $5 that applies to every ride regardless of distance.
- + — tells us the mileage cost and the base fare are added together.
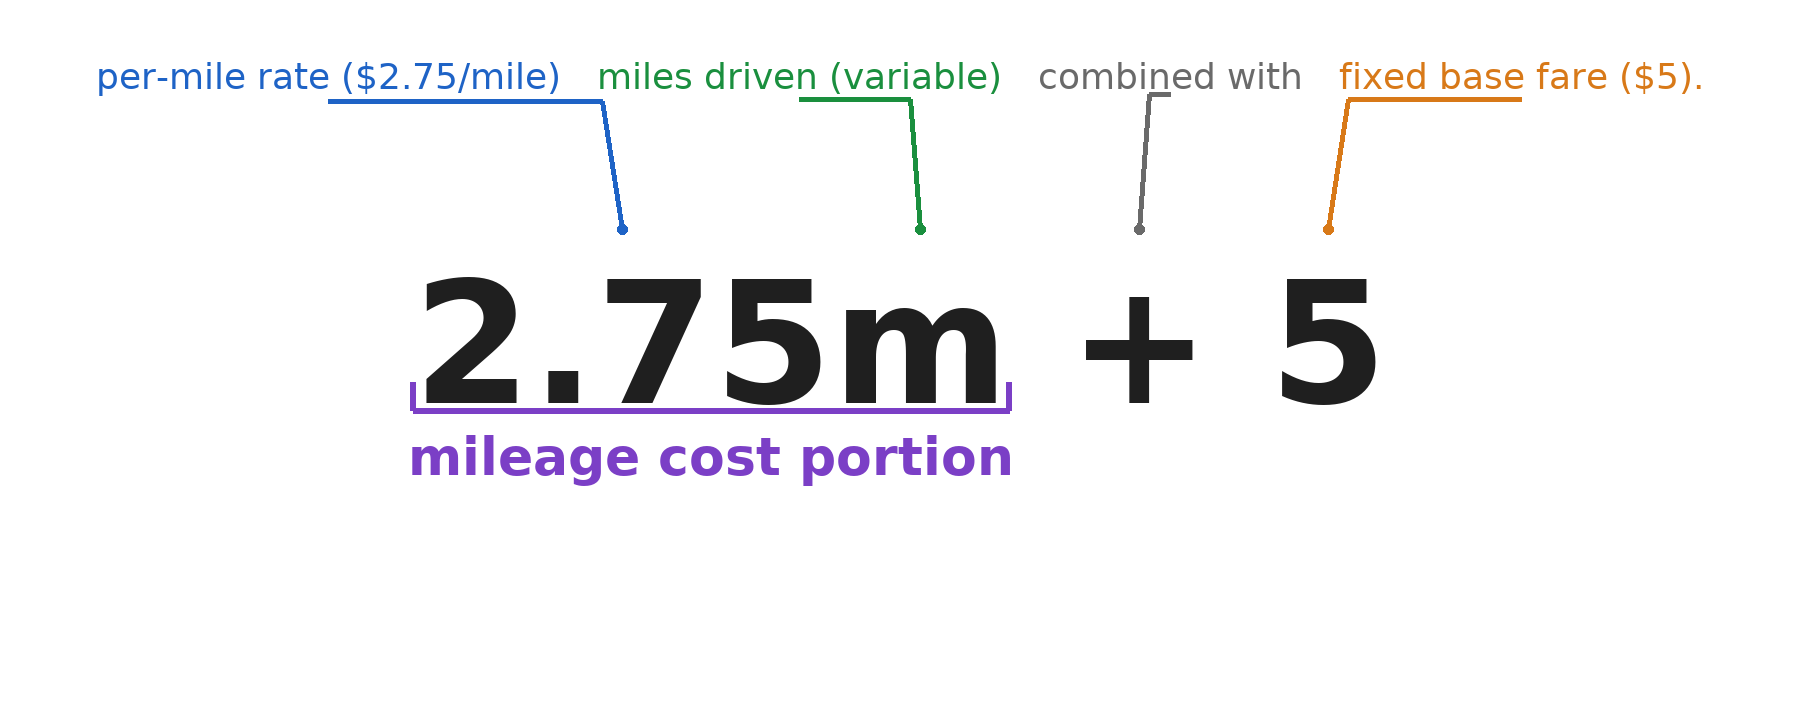
Now you can stitch these labels into a single, clear statement: "This expression calculates the total fare in dollars by multiplying $2.75 by the number of miles driven and then adding a $5 base fee." Notice that the explanation names the real-world quantity, mentions the units (dollars, miles), and describes how the parts combine. That pattern of naming the quantity, including the units, and explaining how the parts connect works for any expression.
Explaining an Equation 🟰
As a refresher, an equation does everything an expression does, but it also states that two things are equal. That equal sign usually represents a target, a balance, or a condition that must be met exactly.
Suppose you want to save for a $600 tablet by setting aside $45 each month from a side job, and you already have $150 in savings. The model is:
where is the number of months. Let's label each piece:
- n — the number of months you will save.
- 45 — the dollar amount saved per month.
- 45n — the total new savings after months.
- 150 — the money already saved (a fixed starting amount).
- = — means the left side must match the right side exactly.
- 600 — the target price of the tablet.
Full explanation: "This equation says that $45 saved each month for months, plus the $150 already saved, must equal exactly $600, the price of the tablet."
Compared to an expression, the only new ingredient is the relation symbol and the value on the other side. When you see , ask yourself: "What target or balance does this represent?" Then include that answer in your explanation.
Explaining an Inequality 📏
Inequalities introduce constraints instead of exact targets — a concept you explored in depth in the last lesson. When explaining an inequality, you will use the same part-by-part approach with one extra step: describe the direction and strictness of the constraint.
Consider an event-planning scenario. A community center charges $6 per ticket plus a fixed $25 booking fee for hosting an event. Your committee's budget for the event cannot exceed $175:
where is the number of tickets purchased. Breaking it down:
- t — the number of tickets purchased.
- 6 — the price per ticket in dollars.
- 6t — the total ticket cost.
- 25 — a fixed booking fee.
- ≤ — means "is less than or equal to" (the total cannot exceed the budget, but it can equal it).
- 175 — the maximum allowed event cost in dollars.
Full explanation: "This inequality says that $6 per ticket times the number of tickets, plus a fixed $25 booking fee, must be no more than $175 in total event cost. Spending exactly $175 is acceptable, but going over is not."
Notice the extra sentence about the endpoint. Because the symbol is rather than , we clarify that hitting $175 exactly is still within the rule. This small detail can matter a great deal in real decisions — think of a budget cap or a weight limit where even one dollar or one pound over is a problem.
Your Three-Step Explanation Process 📋
Across all three model types, the same simple process applies:
- Label every part. Identify each variable, coefficient, constant, operator, and relation symbol. Write a short phrase for what each one represents in the situation.
- Connect the parts. Describe how the pieces combine: what gets multiplied, what gets added, and what the relation symbol tells us.
- State the whole message. Summarize the model in one or two plain-language sentences that someone unfamiliar with the math could understand. Include real-world names, units, and (for equations and inequalities) what the target or limit means.
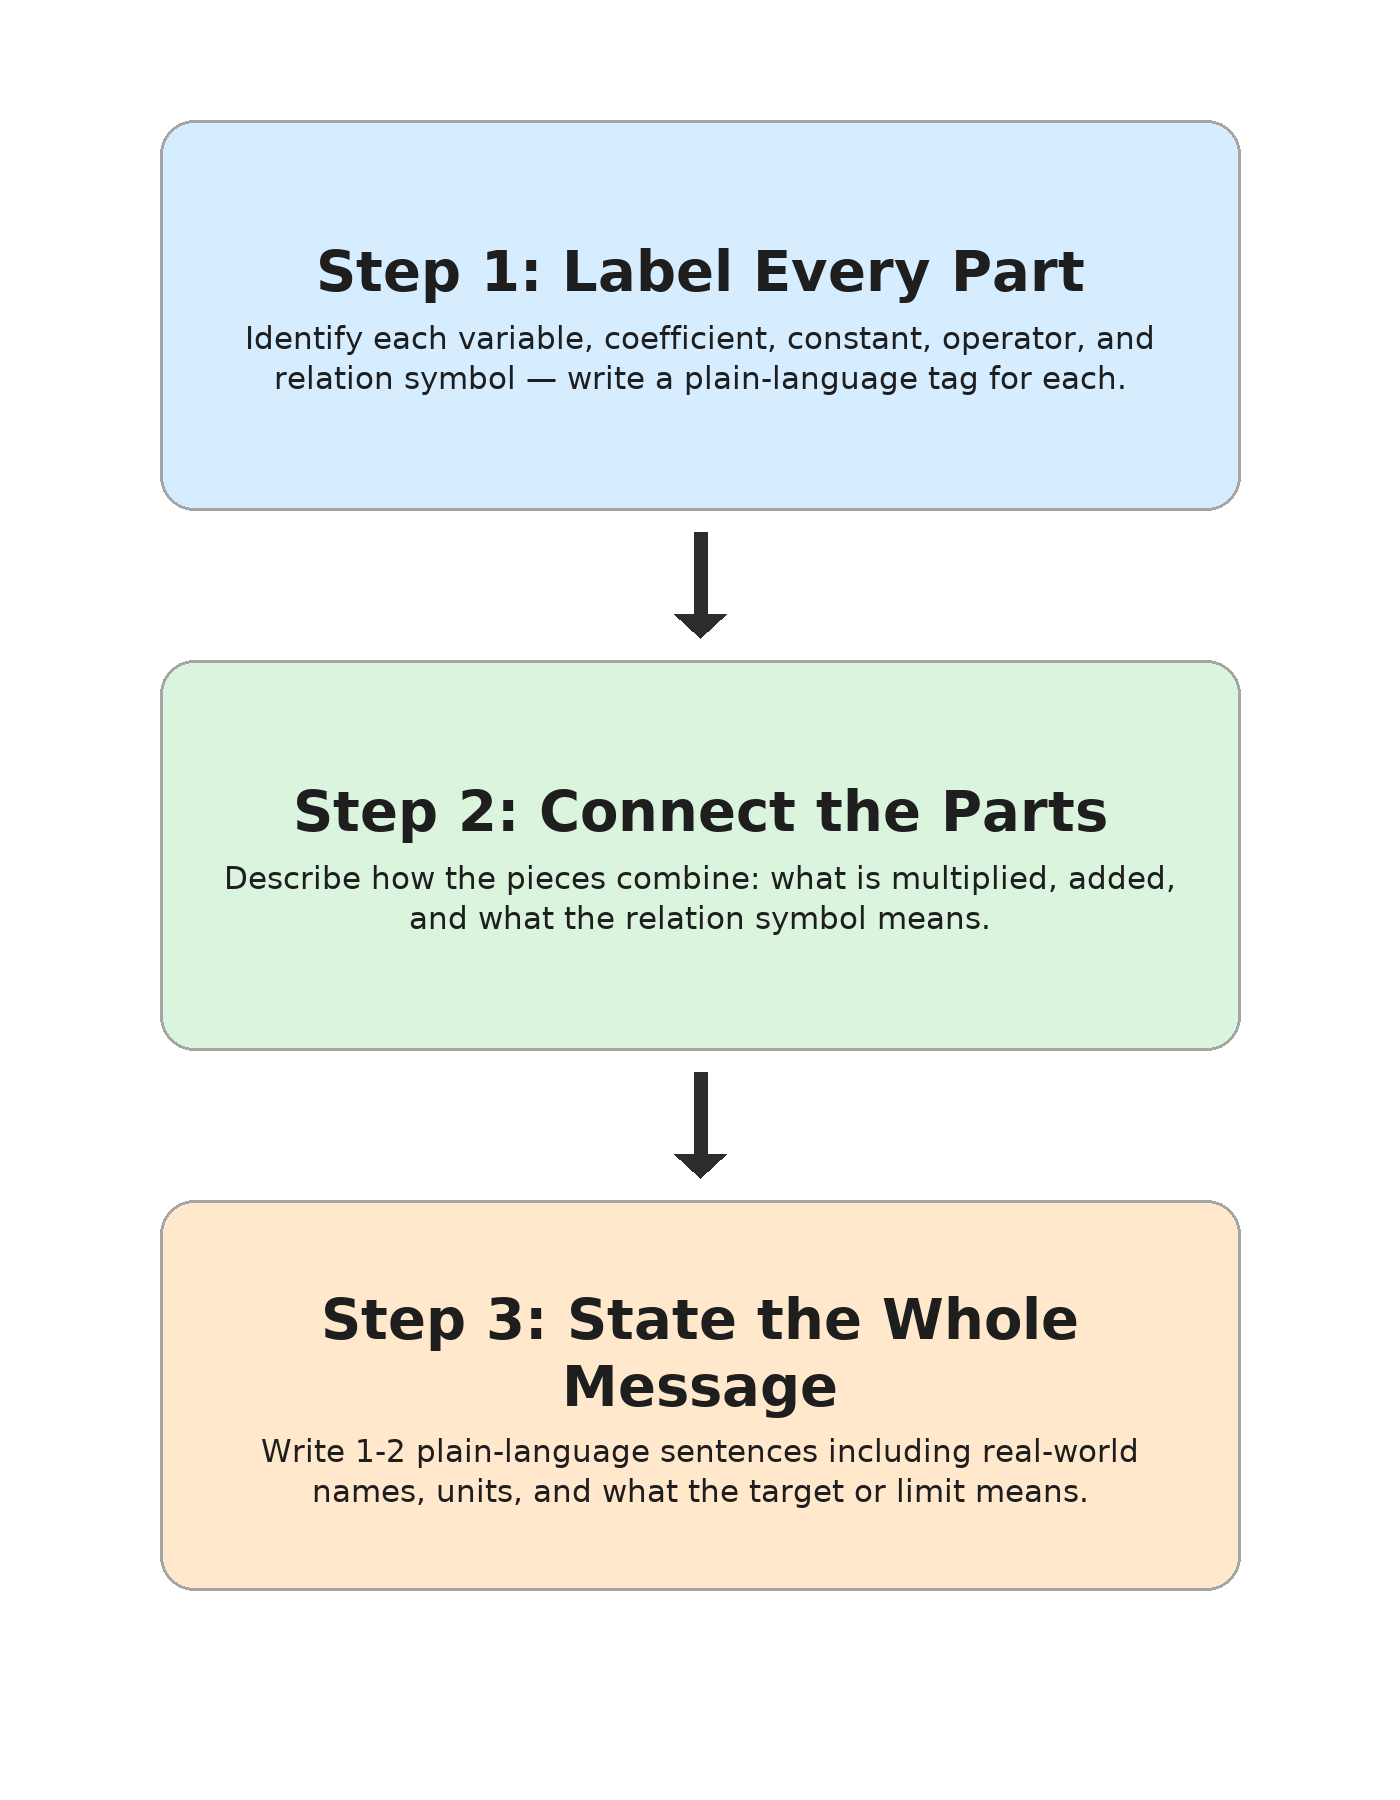
If you follow these three steps, you can explain any model you are likely to encounter. The labels give you the vocabulary, the connections give you the sentence structure, and the summary ties it all into a meaningful statement.
Common Pitfalls to Avoid 🕳️
Even with a clear process, a few missteps can make an explanation confusing. Watch out for these:
- Skipping units. Saying "15 times " is less helpful than saying "$15 per hour times the number of hours." Units turn abstract math into concrete meaning.
- Ignoring the relation symbol. The , , or is just as important as the numbers. Always explain whether the model sets an exact target, an upper limit, a lower limit, or a range.
- Being vague about endpoints. Remember that "less than" and "less than or equal to" are not the same thing. State clearly whether the boundary value itself is allowed.
- Using math jargon in your explanation. The whole point is to make the model accessible. Replace technical terms like "coefficient" with phrases like "the per-hour rate" when speaking to a non-math audience.
The common thread here is specificity. The more precise and plain your language is, the less room there is for misunderstanding.
Conclusion and Next Steps
In this lesson, you learned how to take any algebraic model apart, label each piece with its real-world meaning, and reassemble those labels into a clear, complete explanation. Whether the model is an expression that calculates a quantity, an equation that sets an exact target, or an inequality that defines a limit, the three-step process of label, connect, and summarize gives you a dependable path from symbols to plain language.
This also wraps up the final lesson of the course. You now have a full toolkit: substituting and interpreting values, estimating to check reasonableness, understanding boundaries and ranges, and explaining models so anyone can follow along. Up next is a set of practice exercises where you will match model parts to their meanings, fill in plain-language descriptions, write your own explanations, and even coach someone else through an inequality. Time to show off everything you have learned!
