Enhancing Surfaces with Normal Maps
Introduction
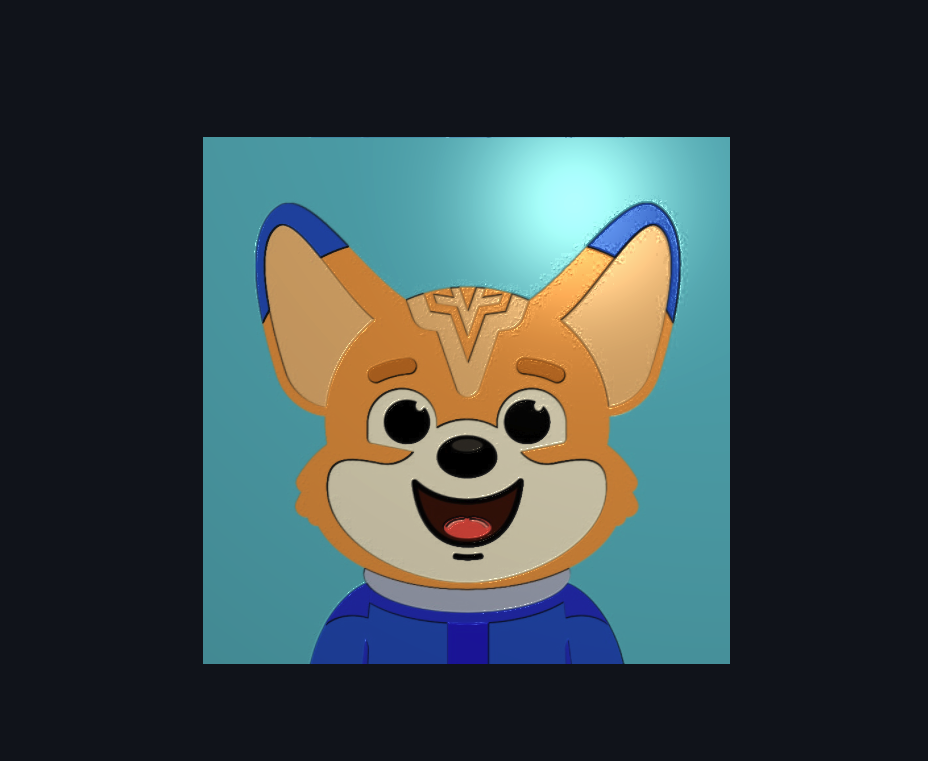
Welcome back to the sixth lesson of Realistic Lighting with the Phong Model! In our previous lesson, we successfully combined textures with lighting to create surfaces that display both rich visual detail and convincing three-dimensional illumination. Our textured cube now exhibits the complex interplay between material appearance and lighting that characterizes realistic rendering. However, while our textures provide color variation across surfaces, the underlying geometry remains perfectly smooth. Real-world materials exhibit surface irregularities like bumps, scratches, and fine details that catch and scatter light in complex ways. In this lesson, we'll learn to simulate these microscopic surface variations using normal mapping, a powerful technique that enhances perceived surface complexity without adding geometric detail. By manipulating surface normals through specialized textures called normal maps, we can create the illusion of intricate surface features that respond convincingly to lighting, transforming our smooth surfaces into materials that appear to have genuine physical depth and texture.
Understanding Normal Maps and Surface Detail
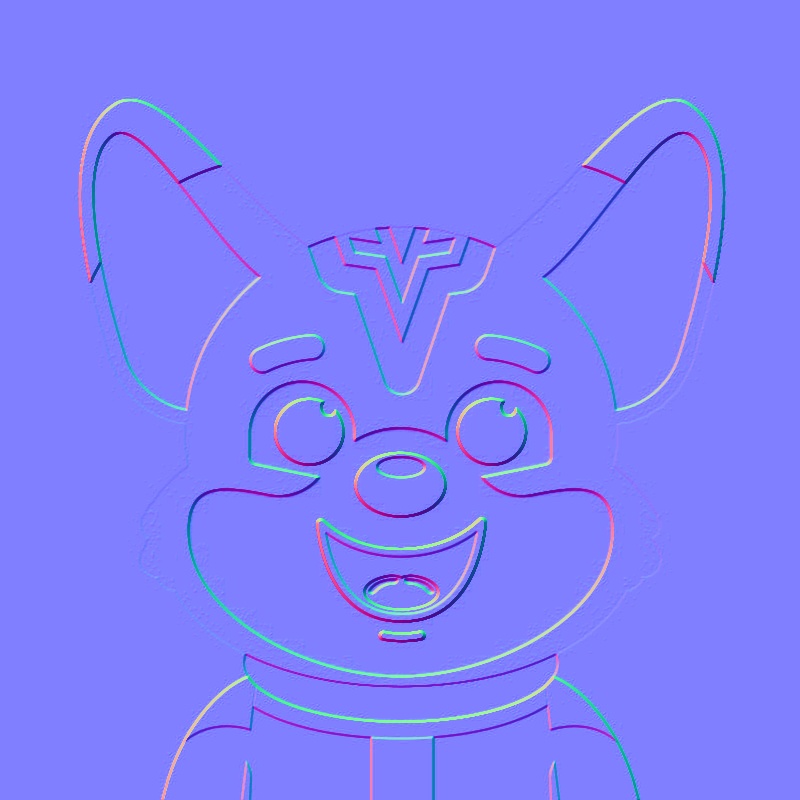
Normal mapping works by storing surface normal perturbations in a texture, allowing us to modify how light interacts with surfaces on a per-pixel basis. Unlike diffuse textures that store color information, normal maps contain encoded directional vectors that represent local variations in surface orientation. These variations create the illusion of bumps, grooves, and other surface features by altering the lighting calculations without changing the actual geometry. The technique is particularly powerful because it provides fine surface detail at minimal computational cost compared to increasing polygon density. When light hits a surface with a normal map, each pixel can have a slightly different normal vector, causing subtle variations in how light reflects and scatters. This creates the visual impression of surface roughness and complexity that our eyes interpret as real geometric detail, even though the underlying mesh remains geometrically simple.
Understanding Height Maps
There are many ways to create a normal map, but one of the most common is to start with a height map. A height map is a grayscale image where the brightness of each pixel represents the relative height or elevation of that point on the surface. Brighter pixels indicate raised areas, while darker pixels represent recessed or lower regions. This simple representation allows us to define surface variations across a 2D texture that can later be converted into directional information for lighting calculations.
Here, we have taken our Cosmo texture and converted it to grayscale, effectively transforming it into a height map that captures the surface variations we want to simulate.

The grayscale conversion preserves the essential contrast and detail from the original texture while providing the height information needed for normal map generation. Areas that were bright in the original texture remain bright in the height map, indicating raised surface features, while darker areas suggest depressions or valleys in the surface topology.