Welcome back to Multi-Step Percent Problems! This is the second lesson in our five-lesson course, and you are already off to a strong start. In Lesson 1, we practiced choosing the correct base whenever a problem hands us more than one number — a habit that will stay useful throughout every lesson ahead.
Now we turn the typical percent problem on its head. Instead of starting with an original amount and calculating forward to find a result, we will start with the result and figure out what the original amount must have been. This kind of reverse calculation shows up constantly in daily life. You see a sale price tag and wonder what the item cost before the discount. You know your current salary after a raise and want to recover what you earned before. In each case, the original is hidden, and the percent change is your only clue for getting back to it.
Applying a percent change works like a one-way street. When you know the original amount, you multiply to get the final amount — the math flows forward: original → change → final. For instance, reducing a $200 item by 10% means multiplying $200 by to land on $180.
But what if you only know the $180 end result and the 10% discount? You need to travel the street in reverse: final → ? → original. The catch is that you cannot simply calculate 10% of $180 and add it back, because the 10% was originally taken from the unknown larger number, not from $180. Ten percent of $180 is $18, which would give you $198 — not the true original of $200. This mismatch is the entire reason the reverse method requires its own dedicated approach, and it ties directly back to the base awareness we built in Lesson 1.
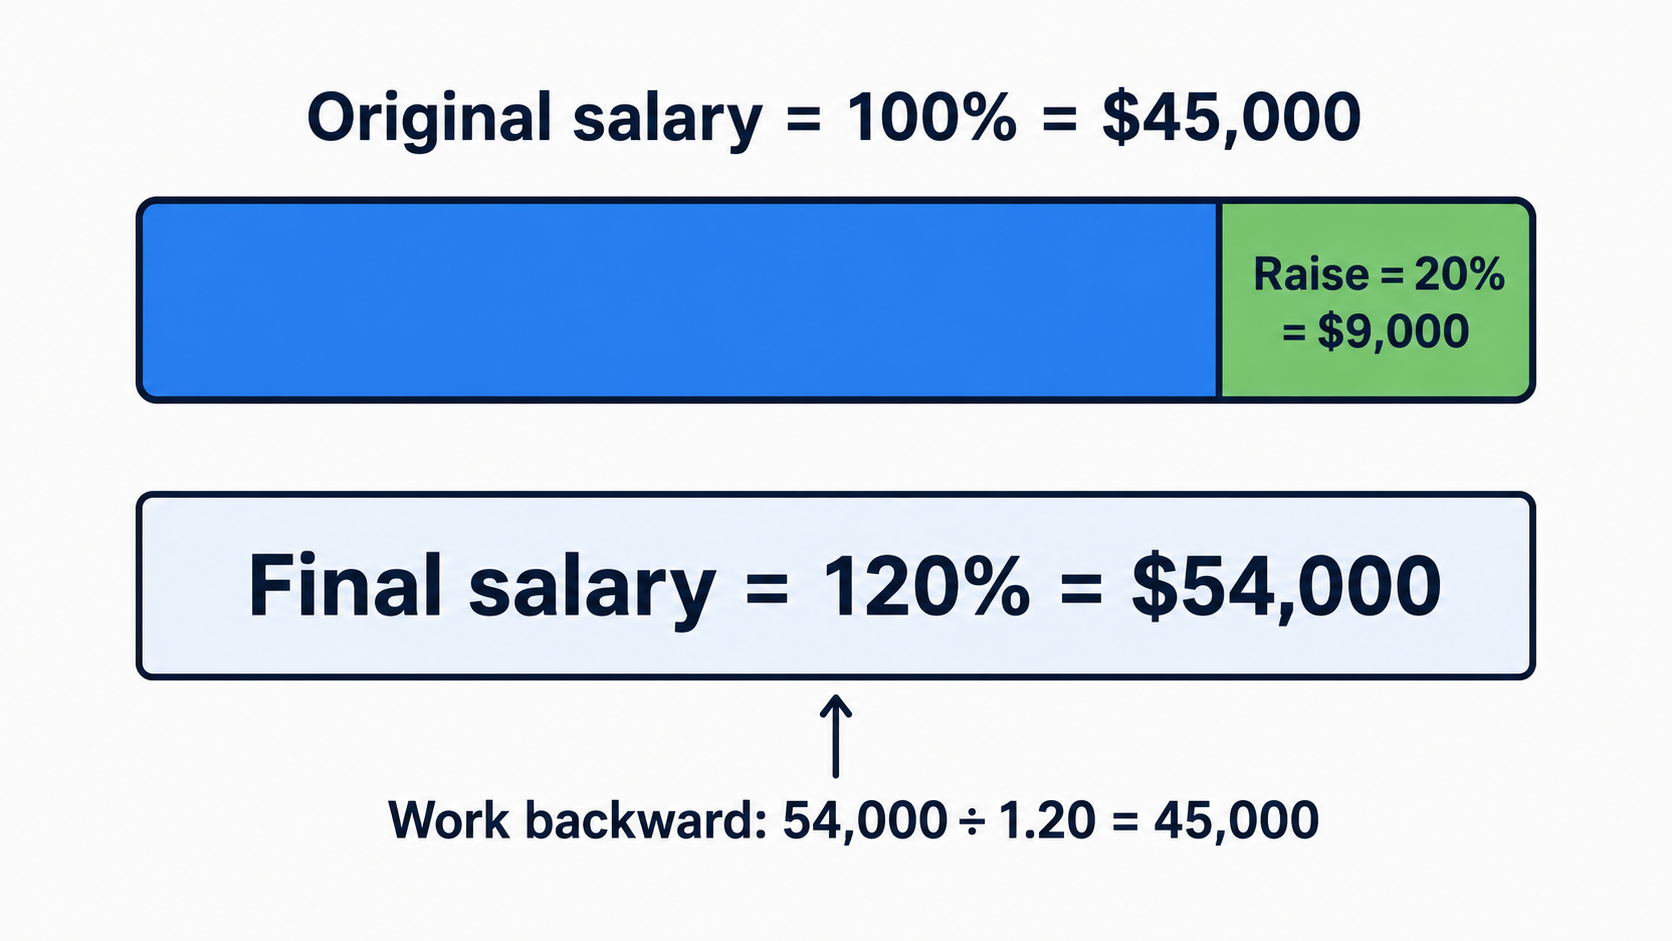
Let's start with percent increases. Suppose you know that after a 20% raise, an employee now earns $54,000 per year. What was the salary before the raise?
When the raise was originally applied, the calculation moved forward like this:
The factor comes from adding the percent as a decimal to 1: that is, . To reverse this and isolate the original, we divide both sides by the same factor:
Percent decreases work the same way, with one small but important difference: we subtract the rate from 1 instead of adding it.
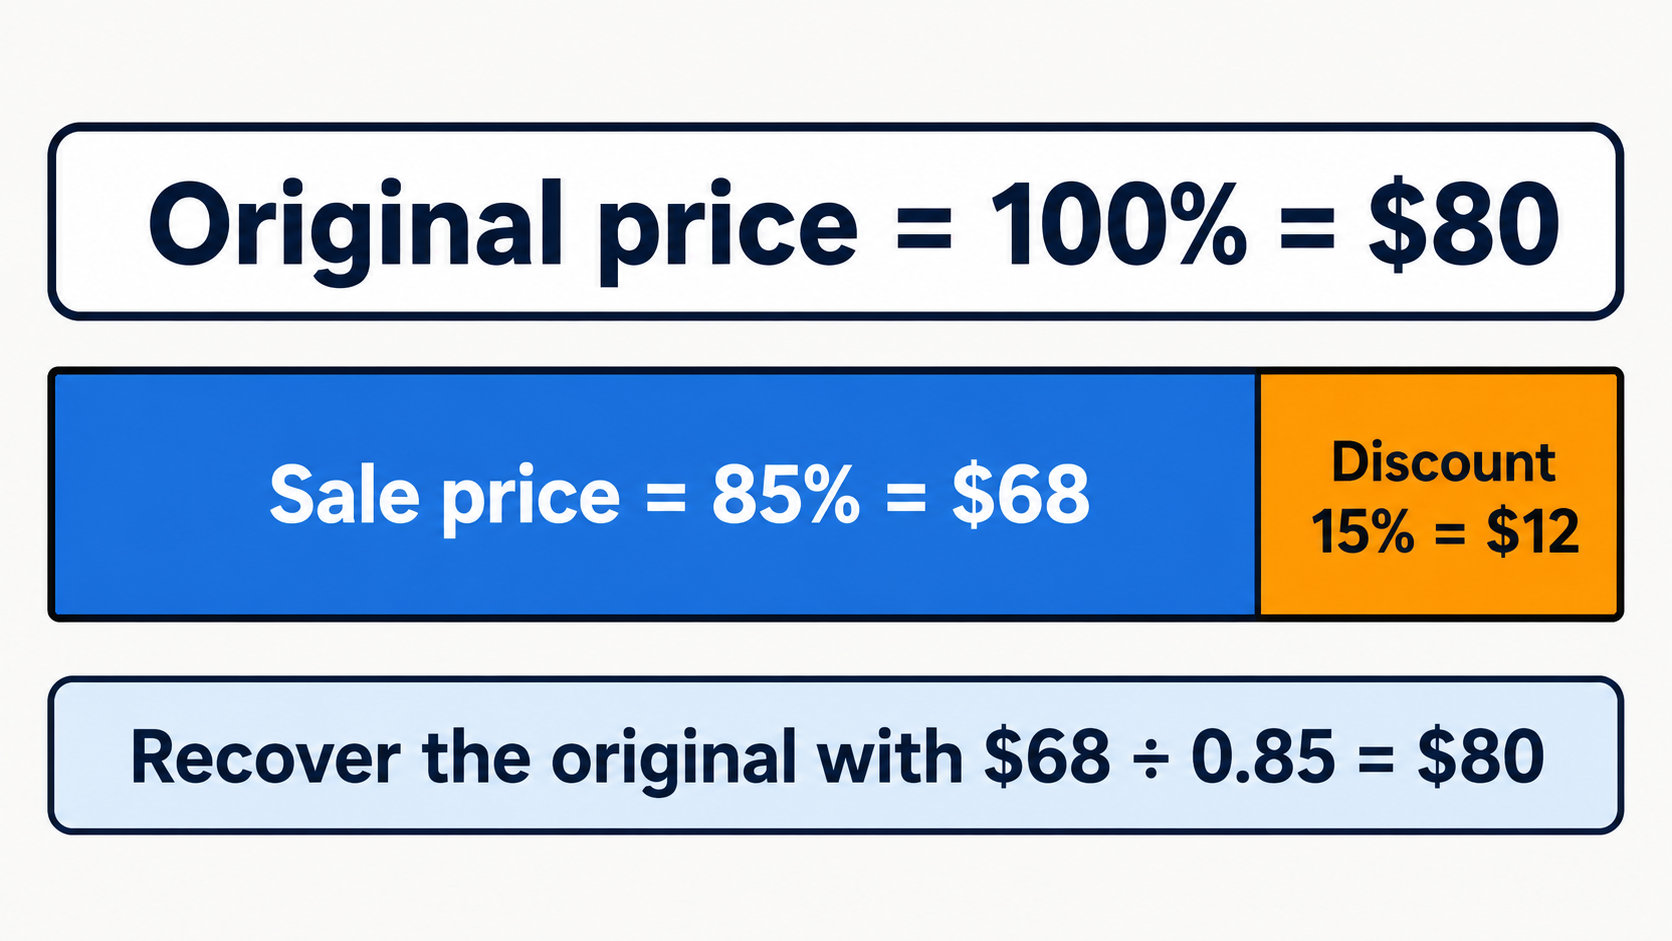
Imagine you buy a pair of shoes on sale for $68 after a 15% discount. What was the original price? When the discount was applied, the store multiplied:
The factor comes from . To reverse the calculation:
With both formulas in hand, the only decision you need to make is whether to divide by a factor greater than 1 or less than 1. The table below summarizes when to use each:
The most tempting mistake in reverse problems is to take the percent of the final amount and add or subtract it directly. For example, if a price is $68 after a 15% discount, you might be tempted to calculate and add it back to get $78.20. That answer is wrong because the 15% was originally taken from the unknown original price, not from $68.
Let's compare the two approaches side by side:
- Incorrect:
In this lesson, we learned how to work backward from a final amount to recover the original before a percent change. The core method is to divide the final amount by the change factor — for increases and for decreases. We also saw why applying the percent directly to the final amount gives the wrong answer, since the percent originally referred to the unknown original, not the number we can see.
Now it is time to put this reverse technique into practice. In the exercises ahead, you will identify the correct divisor, recover original amounts from realistic scenarios, and explain the reasoning in your own words. Take your time, trust the method, and enjoy working the problems backward!