Welcome to the seventh and final lesson in Document Structure and Layout! Over the past six lessons, you have built an impressive set of skills: document hierarchy, tables of contents, lists, page layout, tables, and image insertion. In the previous lesson, we learned how to bring images into a document with \includegraphics and control their size. The images we inserted, however, were fixed in place like ordinary text. In professional documents, images typically appear inside figure floats that carry captions, automatic numbering, and cross-references. That is exactly what this lesson covers.
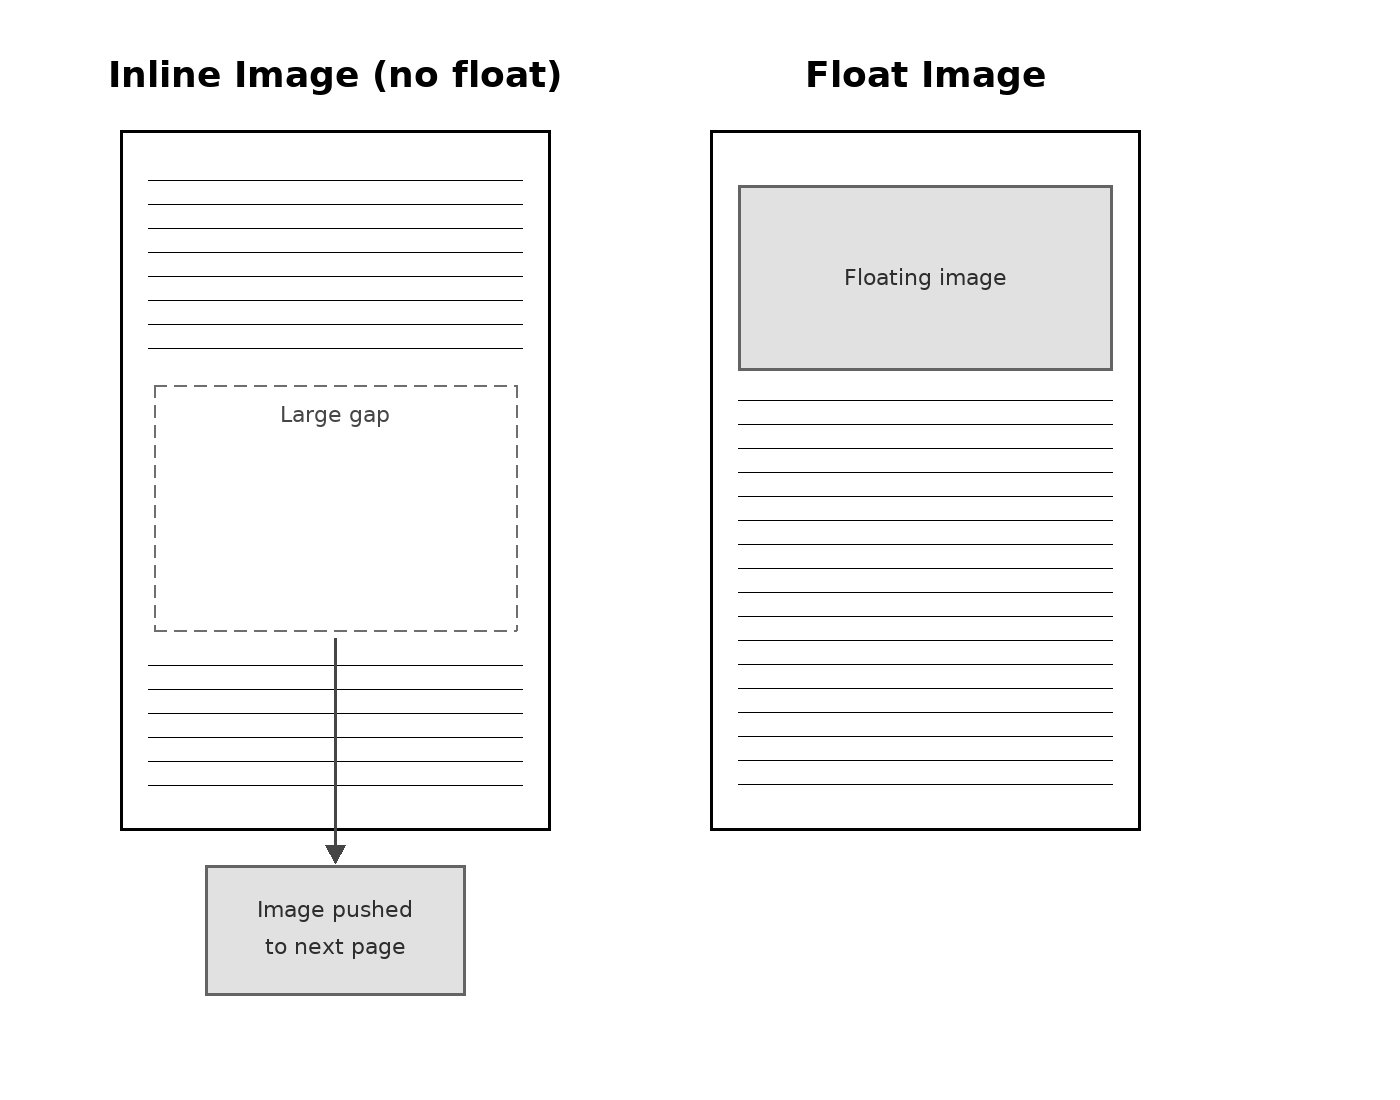
When you place an \includegraphics command directly in a paragraph, LaTeX treats the image like a large character glued to that exact spot. If the image does not fit on the current page, LaTeX may leave an awkward gap of white space and push both the image and the following text to the next page. This can make your document look unpolished.
A float solves this problem by letting LaTeX move the image slightly — perhaps to the top or bottom of a page — so that the surrounding text fills in naturally without ugly gaps. Think of a float as a flexible container: you tell LaTeX roughly where you want the image, and LaTeX fine-tunes the exact position to keep the page layout clean.
LaTeX provides the figure environment to create an image float. It wraps around the \includegraphics command you already know. Here is the simplest form:
Everything between \begin{figure} and \end{figure} becomes a floating element. LaTeX will decide where on the page to place it based on available space. Notice that we did not change the \includegraphics command at all — we simply placed it inside a new environment.
One common addition is the \centering command, which horizontally centers the image within the float. Without it, the image aligns to the left margin by default:
The \centering command applies to everything that follows it inside the environment, so it must appear before the \includegraphics line.
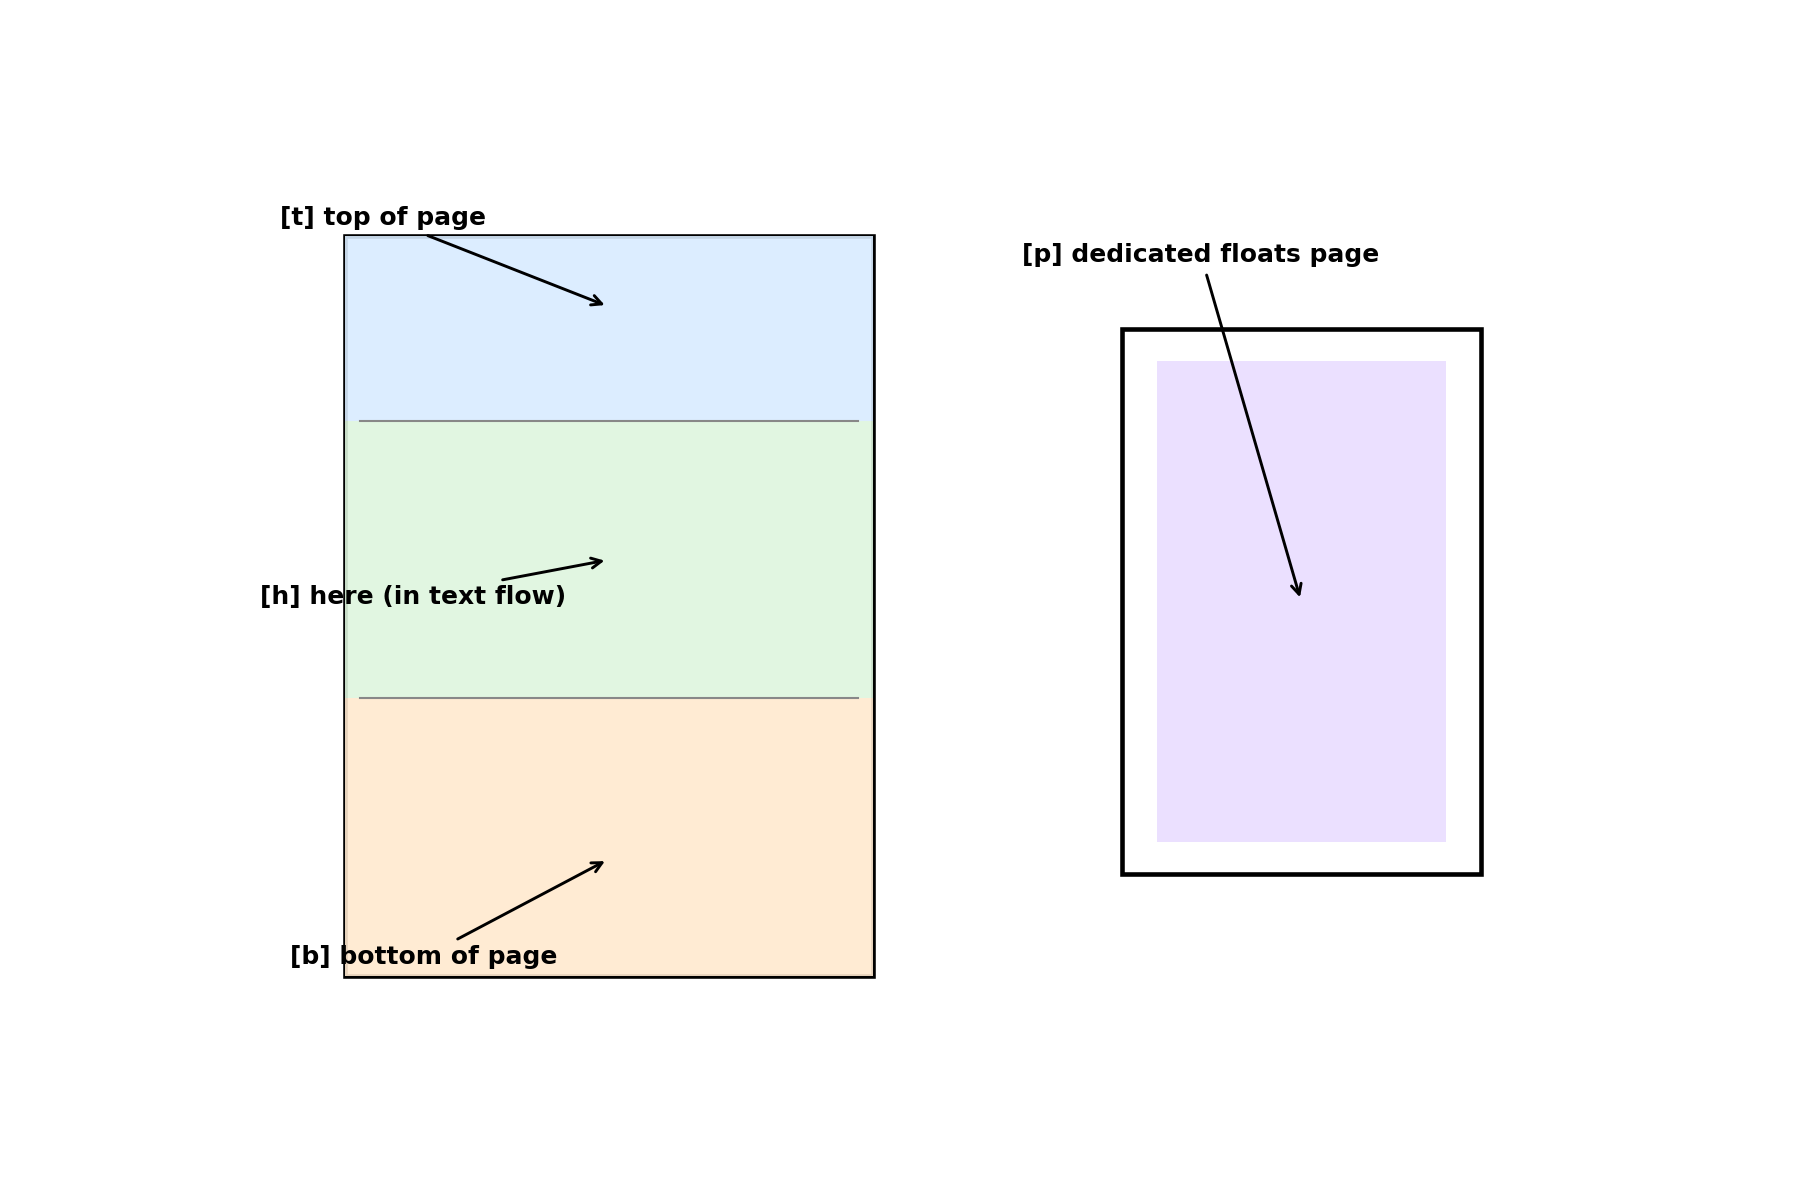
By default, LaTeX chooses the float position on its own. You can suggest a preferred position by adding a placement specifier in square brackets right after \begin{figure}. The most common specifiers are:
| Specifier | Meaning |
|---|---|
h | Place the float approximately here in the text flow |
t | Place the float at the top of a page |
b | Place the float at the bottom of a page |
p | Place the float on a dedicated page of floats |
You can combine specifiers to give LaTeX more flexibility. For example, [ht] means "try here first; if that does not work, try the top of the page." A practical starting point for most documents is:
Keep in mind that these are suggestions, not commands. LaTeX may override your preference if following it would produce a bad page break or too much empty space. Combining two or three specifiers, like [htb], usually gives the best results because it gives LaTeX the most room to find a good spot.
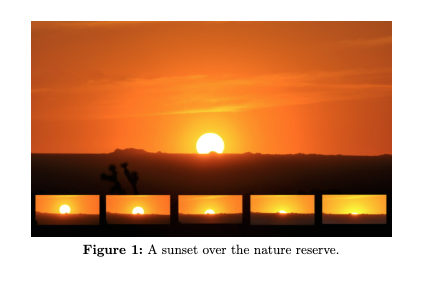
A figure without a caption is like a chart without a title — readers cannot tell what they are looking at. The \caption{} command adds a numbered description below (or above) the image:
When compiled, LaTeX automatically prints something like Figure 1: A sunset over the nature reserve. The numbering updates itself as you add or rearrange figures, just like section numbering updates when you reorder sections. Place \caption after \includegraphics to put the caption below the image, which is the most common convention in articles and reports.
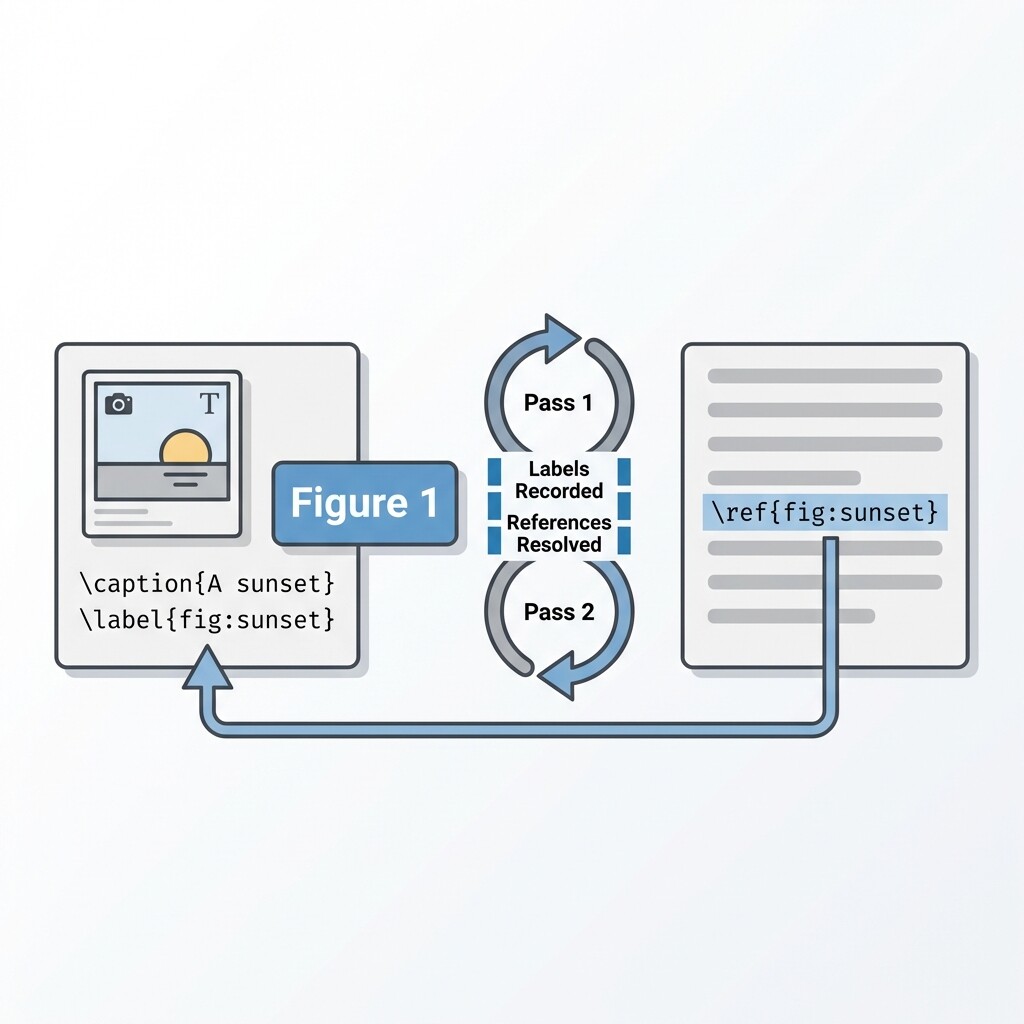
Once a figure has a caption, you can attach a label so that you can refer to its number anywhere in the document. This is done with \label{}, placed right after \caption{}:
The label name is your choice, but prefixing it with fig: is a widely used convention that helps you distinguish figure labels from section or table labels. To print the figure number in your text, use the \ref{} command:
After two compilations (the first records label data, the second inserts the numbers), LaTeX replaces \ref{fig:sunset} with the correct figure number. If you recall from lesson two, the table of contents works the same way — this two-pass pattern is a recurring theme in LaTeX. The real power here is that if you later add a new figure before this one, the number updates automatically, so you never have to renumber figures by hand.
Let us combine every element into one complete, realistic example. We will create a short report section with a captioned, labeled figure and a cross-reference in the text.
Notice the order of commands inside the figure environment: \centering first, then \includegraphics, then \caption, and finally \label. This ordering ensures the image is centered, the caption appears below the image, and the label captures the correct figure number. Getting this sequence right is the key habit to develop.
In this lesson, you learned how to wrap images in the figure environment to create floats, guide placement with specifiers like [ht], generate automatically numbered captions with \caption{}, and reference figures anywhere in your text using \label{} and \ref{}. These tools turn a bare image into a properly documented, numbered figure that readers can locate and cite with ease.
This also brings the Document Structure and Layout course to a close. You now have the skills to build well-organized, professionally formatted documents — from headings and lists all the way to captioned figures. Jump into the practice exercises and build a complete captioned figure from scratch — there is no better way to finish the course than by doing it yourself!
