Welcome to the first lesson of our Realistic Lighting with the Phong Model course! We're embarking on an exciting journey into the world of advanced 3D graphics programming, where we'll learn to create stunning, photorealistic lighting effects. At the heart of this course is the Phong lighting model—a classic and widely used technique in computer graphics for simulating how light interacts with surfaces. The Phong Model breaks lighting down into three main components: ambient, diffuse, and specular reflection, allowing us to achieve realistic shading and highlights on 3D objects.
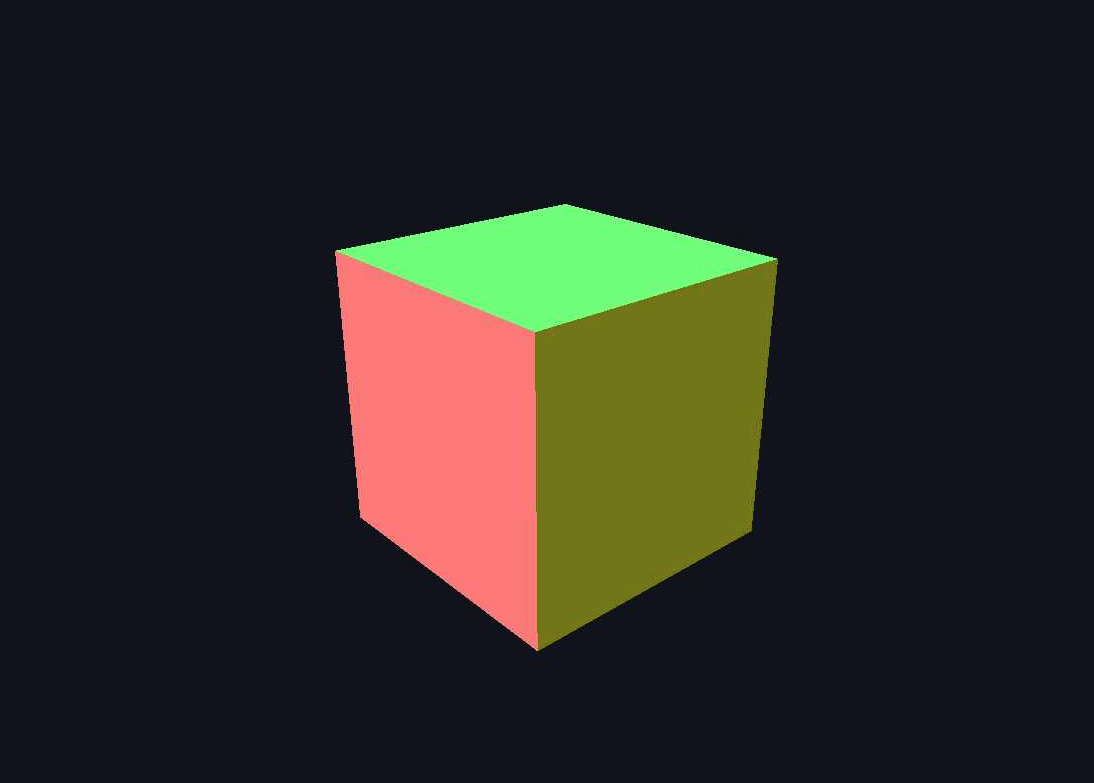
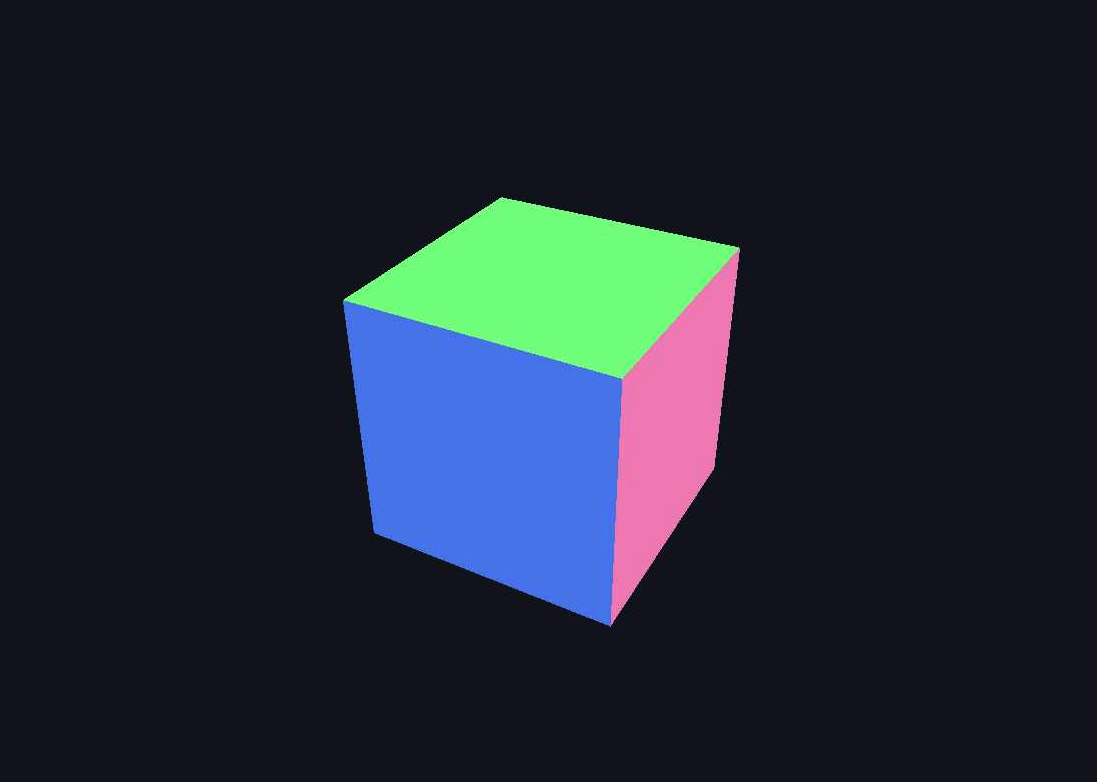
In this opening lesson, we'll dive into one of the most fundamental concepts in computer graphics lighting: surface normals. Understanding normals is absolutely crucial because they determine how light interacts with surfaces, making them the backbone of all lighting calculations in the Phong Model. By the end of this lesson, you'll have created a rotating cube that visualizes its surface normals as beautiful rainbow colors, giving you direct insight into how these invisible mathematical vectors work.
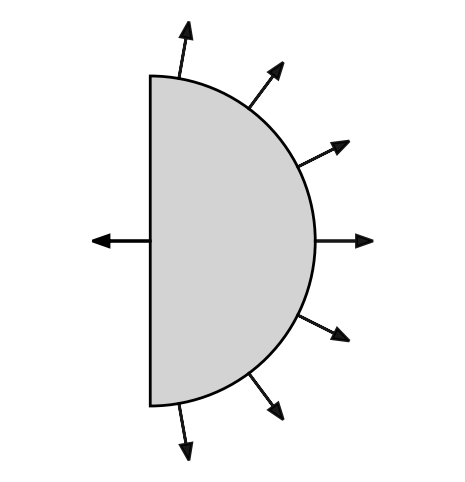
Before we dive into code, let's build a solid understanding of what surface normals actually represent. A surface normal is a vector that points perpendicular to a surface at any given point. Think of it as an invisible arrow sticking straight out from the surface, indicating which direction the surface is "facing." When light hits a surface, the angle between the light direction and the surface normal determines how bright that surface appears. This is why a wall facing directly toward a light source appears brighter than one facing away from it. In computer graphics, we represent these normals as three-dimensional vectors with x, y, and z components, where each component ranges from -1 to 1 after normalization.