Welcome back! In the last lesson, you built a reusable HTML layout for your Cooking Helper frontend using Flask. Now, it’s time to make your site look more appealing. This is where CSS comes in.
CSS stands for Cascading Style Sheets. It is a language used to describe how HTML elements should look on a web page. With CSS, you can change colors, fonts, spacing, and even the layout of your site. In this lesson, you will learn how to use CSS to style your Cooking Helper frontend and make it more user-friendly and visually attractive.
Before we dive into CSS, let’s quickly remind ourselves of what we have so far. In the previous lesson, you created an HTML layout template. This template includes a navigation bar at the top, a main content area, and a footer at the bottom. You also set up your project so that you can link a CSS file for styling.
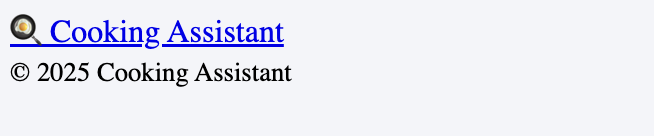
Here’s the current look of the layout page
To style your web page, you need to connect a CSS file to your HTML. In Flask projects, static files like CSS are usually placed in a folder called static. Inside this folder, you can create a css folder and then add your styles.css file there.
Here’s how your project structure should look:
In your HTML file, you already have this line:
This tells the browser to load your CSS file and apply the styles to your page. On CodeSignal, the environment is already set up for you, so you don’t need to worry about installing anything. Just make sure your CSS file is in the right place.
Let’s start adding some style to your Cooking Helper frontend. We’ll do this step by step, focusing on the main parts of your layout: the body, container, navbar, and footer.
Browsers have their own default styles, which can make your site look different on each browser. To make things consistent, it’s common to reset some basic styles at the top of your CSS file:
- The
*selector targets all elements. margin: 0;andpadding: 0;remove default spacing.box-sizing: border-box;makes sizing more predictable.
Next, let’s style the body to set the font, background color, and text color:
font-familysets a clean, modern font.line-height: 1.6;increases the space between lines of text, making it easier to read.background-colorgives a light background.colorsets the default text color.min-height: 100vh;ensures the page takes up the full height of the screen.display: flex; flex-direction: column;helps with layout, making the footer stick to the bottom.
The .container class centers your content and adds some padding:
width: 90%;andmax-width: 960px;keep content readable on all screen sizes.margin: 0 auto;centers the container.padding: 1rem;adds space inside the container.
Let’s make the navigation bar stand out:
.navbarsets a dark background and vertical padding..navbar .logomakes the site name white, removes the underline, and makes it larger and bold.
Finally, let’s style the footer to match the navbar:
margin-top: auto;pushes the footer to the bottom.background-colorandcolormatch the navbar.text-align: center;centers the text.
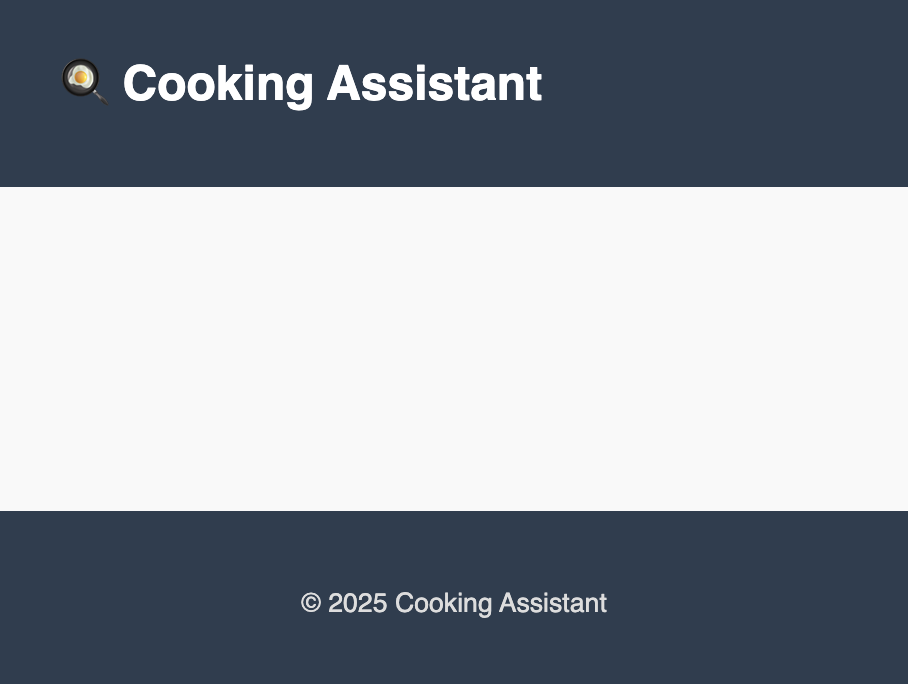
After adding these styles, your Cooking Helper frontend will have a clean, modern look. The navigation bar and footer will have a matching dark color, the content will be centered, and the background will be light and easy on the eyes.
In this lesson, you learned how to connect a CSS file to your HTML layout and use CSS to style the main parts of your Cooking Helper frontend. You saw how to reset default browser styles, set up a clean layout, and style the navbar and footer for a professional look.
Next, you’ll get a chance to practice these skills by writing and editing CSS yourself. This hands-on practice will help you get comfortable making your web pages look great. Good luck, and have fun styling!
