Auto-Sizing Delimiters
Introduction
Welcome back to Advanced Math Notation! In the first lesson of this course, you learned how small accent marks like hats, bars, and arrows can change the meaning of a mathematical symbol. Now, in this second lesson, we shift from the tiny to the tall and explore a feature that makes a dramatic visual difference in your formulas: auto-sizing delimiters.
Parentheses, brackets, and braces are everywhere in mathematics, but they do not always look right at their default size. When the content inside them grows — as with fractions or stacked expressions — fixed-size delimiters can look awkwardly small. In this lesson, you will learn how to use \left and \right to make delimiters scale automatically to match their contents. You will also discover what to do when only one side of a delimiter pair should be visible, using the handy dot notation.
When Fixed-Size Delimiters Fall Short
Writing parentheses in math mode is as simple as typing ( and ). For short expressions like , this works perfectly — the parentheses and the content are roughly the same height, so everything looks balanced.
The trouble appears when the enclosed content is tall. Consider placing a fraction inside plain parentheses:
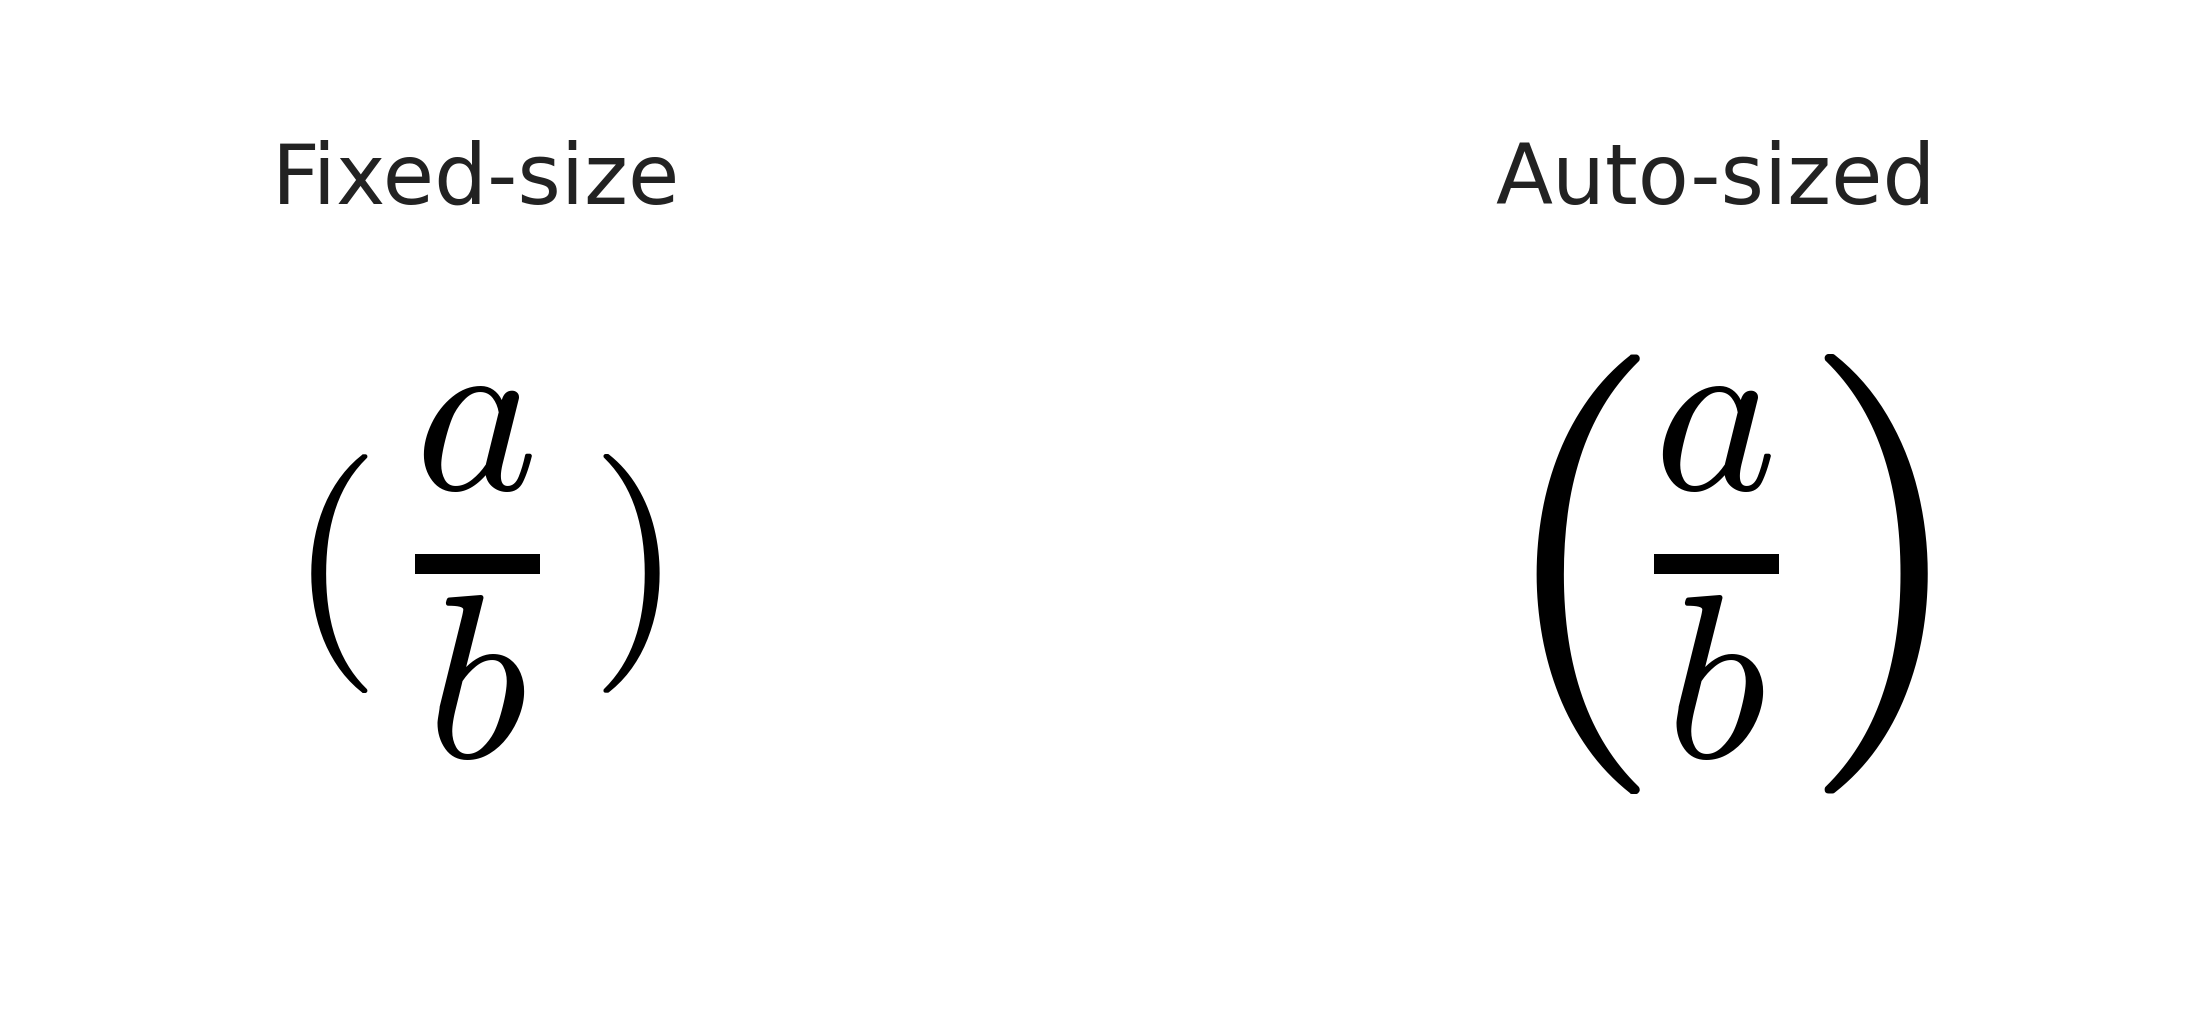
The fraction rises well above and below the parentheses, making the delimiters look undersized and awkward. A reader has to pause to see what belongs inside them. You will encounter this problem in any formula where fractions, summations, or other tall constructs appear inside delimiters — which is to say, frequently.
The \left and \right Commands
The solution is straightforward: prefix the opening delimiter with \left and the closing delimiter with \right. LaTeX then measures the height of everything between them and scales both delimiters to match. Here is the pattern applied to our earlier fraction:
This produces:
Notice how the parentheses now stretch to cover the full height of the fraction. The result looks polished and professional — exactly what you would see in a published textbook. Two essential rules govern every use of these commands:
- Every
\leftmust have a matching\rightwithin the same math environment. Missing one side will cause a compilation error. - The commands are purely visual. They scale the delimiters but do not change the mathematical meaning of the expression.
One useful flexibility: the delimiter after \left does not have to match the one after \right. For example, \left( x, y \right] is perfectly valid and produces — handy for notation like half-open intervals.
Supported Delimiter Types
Auto-sizing is not limited to parentheses. The \left and \right commands work with all of the common delimiter types shown below:
| LaTeX code | Output | Name |
|---|---|---|
\left( ... \right) | ( ) | Parentheses |
\left[ ... \right] | [ ] | Square brackets |
\left\{ ... \right\} | { } | Curly braces |
\left| ... \right| | | | | Vertical bars (absolute value) |
\left\| ... \right\| | ‖ ‖ | Double vertical bars (norm) |
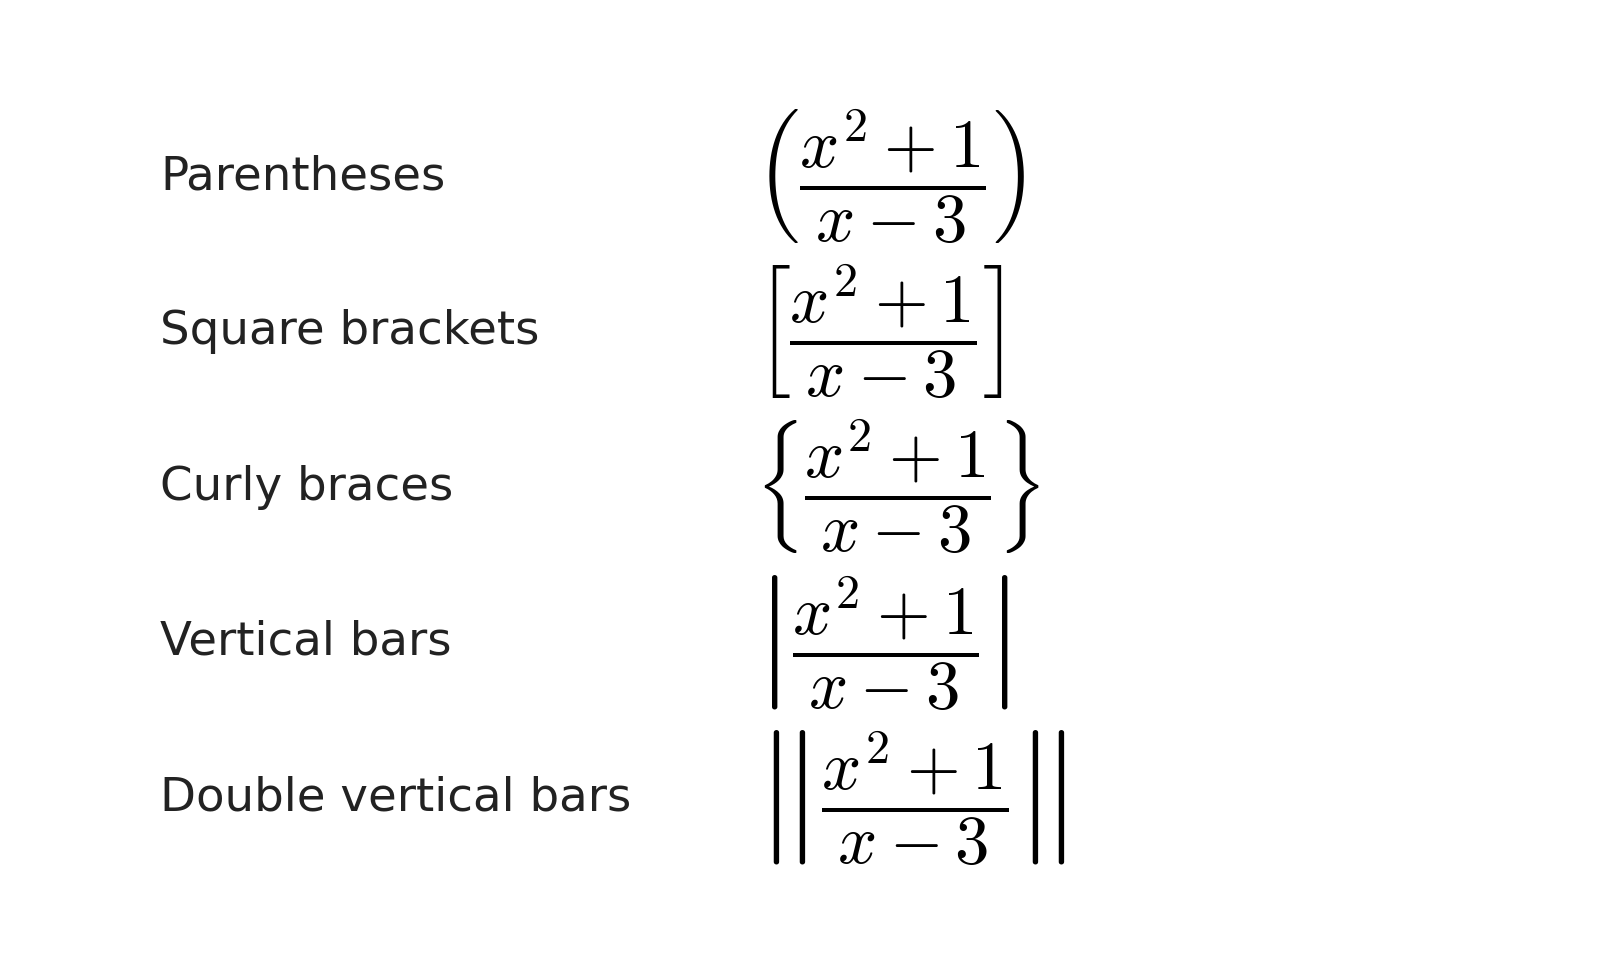
Notice that curly braces require a backslash before each brace character (\{ and \}), because plain { and } already serve as grouping characters in LaTeX. All other delimiters are typed directly after \left or \right.
Each pair scales in the same automatic way. For example, square brackets around a fraction:
produces:
The brackets grow to match the fraction's height, just as parentheses did earlier. Whether you are writing absolute values in a calculus problem or norms in a linear algebra proof, the same \left/\right pattern applies.
Invisible Delimiters with Dot Notation
So far, every example has had a visible delimiter on both sides. But sometimes mathematics calls for a visible delimiter on only one side. A classic example is the evaluation bar used when computing a definite integral. After finding an antiderivative , you write it with a vertical bar on the right and the evaluation bounds as a subscript:
Here, the right side has a vertical bar, but the left side has no visible delimiter. Since every \left must be paired with a \right, LaTeX provides the dot (.) as an invisible delimiter. Writing \left. satisfies the pairing rule without drawing anything on the page. The code for the expression above is:
The dot can appear on either side. If you needed the invisible delimiter on the right instead, you would write \right. in that position. Think of the dot as a silent partner whose only job is to complete the pair so that LaTeX compiles without error.
Nesting Auto-Sized Delimiters
Real-world formulas in physics, statistics, and engineering often require several layers of delimiters. The good news is that each \left/\right pair scales independently based on its own contents, so nesting works naturally. Consider an expression with parentheses inside square brackets:
This renders as:
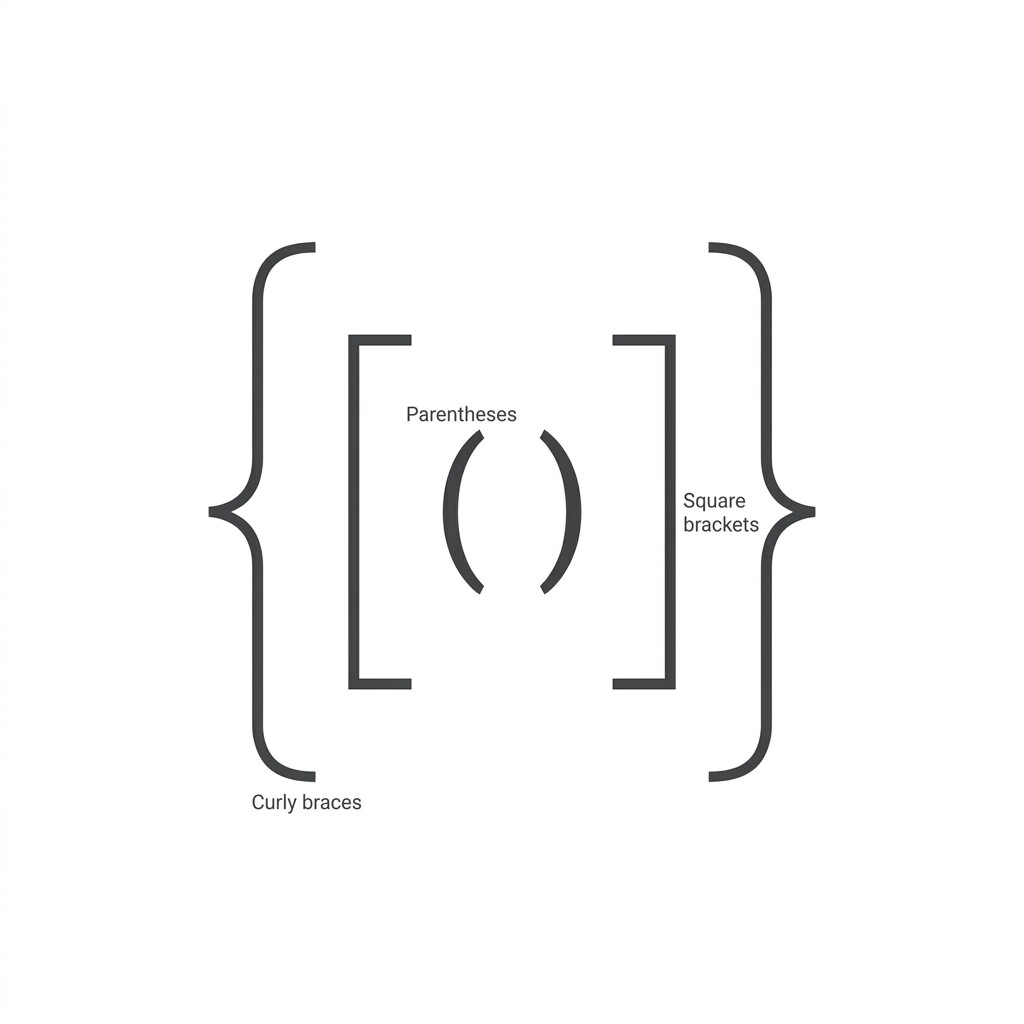
The inner parentheses scale to fit the fraction, and the outer brackets scale to fit everything they enclose — including the already-grown parentheses. When building nested expressions, it is good practice to alternate delimiter types so each layer is visually distinct at a glance. A common convention moves outward from parentheses, to square brackets, to curly braces.
You might see this pattern in expressions like a probability formula , where the fraction sits in parentheses and the entire term sits in brackets. Keeping each layer clear helps both you and your readers follow the structure of the math.
Conclusion and Next Steps
In this lesson, you learned how \left and \right make delimiters scale automatically to match tall content. We explored the most common delimiter types that support auto-sizing, discovered how the dot notation handles unpaired delimiters, and saw how nested delimiter pairs each scale independently to keep complex expressions readable.
Up next, you will put all of this into practice by writing and compiling real LaTeX expressions. You will compare fixed and auto-sized delimiters side by side, experiment with different bracket types, craft an unpaired delimiter using dot notation, and build a nested expression with multiple scaling layers — jump in and see the difference auto-sizing makes!
