Styling the Personal Tutor Interface with CSS in Express and JavaScript
Styling the Personal Tutor Interface with CSS
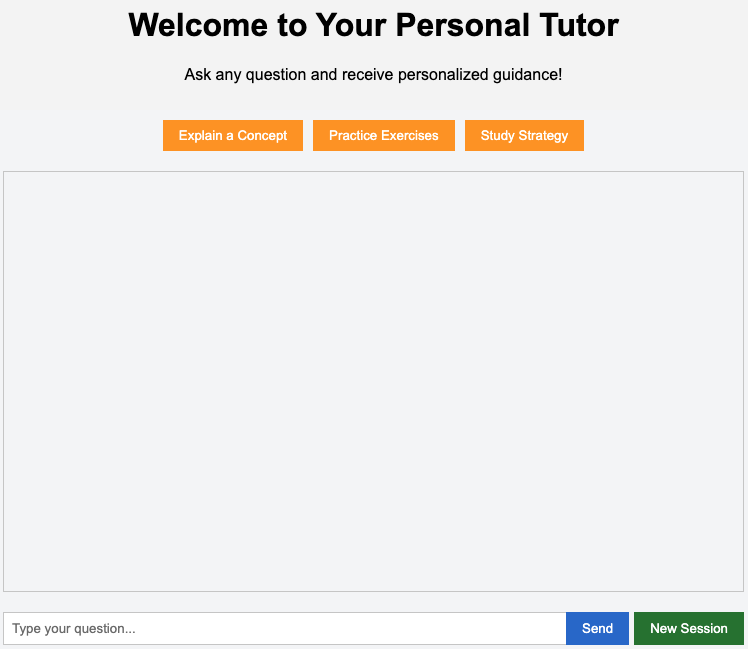
Welcome to the final lesson of our "Developing a Personal Tutor Web Application With Express and JavaScript" course! In the previous lesson, you enhanced your personal tutor application by adding query suggestions, making it more user-friendly and efficient for students. Today, we will complete our application by focusing on styling the interface to make it visually appealing and professional. Styling is crucial in educational web applications, as it enhances the learning experience by providing a clean and intuitive interface. We will use CSS to achieve this, ensuring that our tutor application not only functions well but also looks great.
Setting Up the Static Directory in Express
To style our personal tutor interface, we first need to create a directory for our static files, such as CSS. This directory will be served by our Express application so that the browser can access the styles.
-
Create the Static Directory: In your project root, create a folder named
static. This is where we'll store our CSS file. -
Serve the Static Directory in Express: Update your main Express application file to serve static files from the
staticdirectory.
Here's a simplified example of how you can do it:
This code snippet demonstrates how to use express.static to serve files from the static directory. Any files placed in this directory (like your CSS file) will be accessible at URLs starting with /static.
Linking the CSS File to Your HTML Template
With the static directory set up, the next step is to create a CSS file and link it to your HTML template.
-
Create the CSS File: In the
staticdirectory, create a file namedstyle.css. This file will contain all the styles for your application. -
Link the CSS File in HTML: Open your
tutor.htmlfile and add a<link>tag within the<head>section to link the CSS file using a relative path:
The <link> tag uses a relative path (/static/style.css) to reference the CSS file. This ensures that the styles are applied to the HTML elements. This setup allows your personal tutor interface to be styled effectively using the CSS rules defined in style.css.