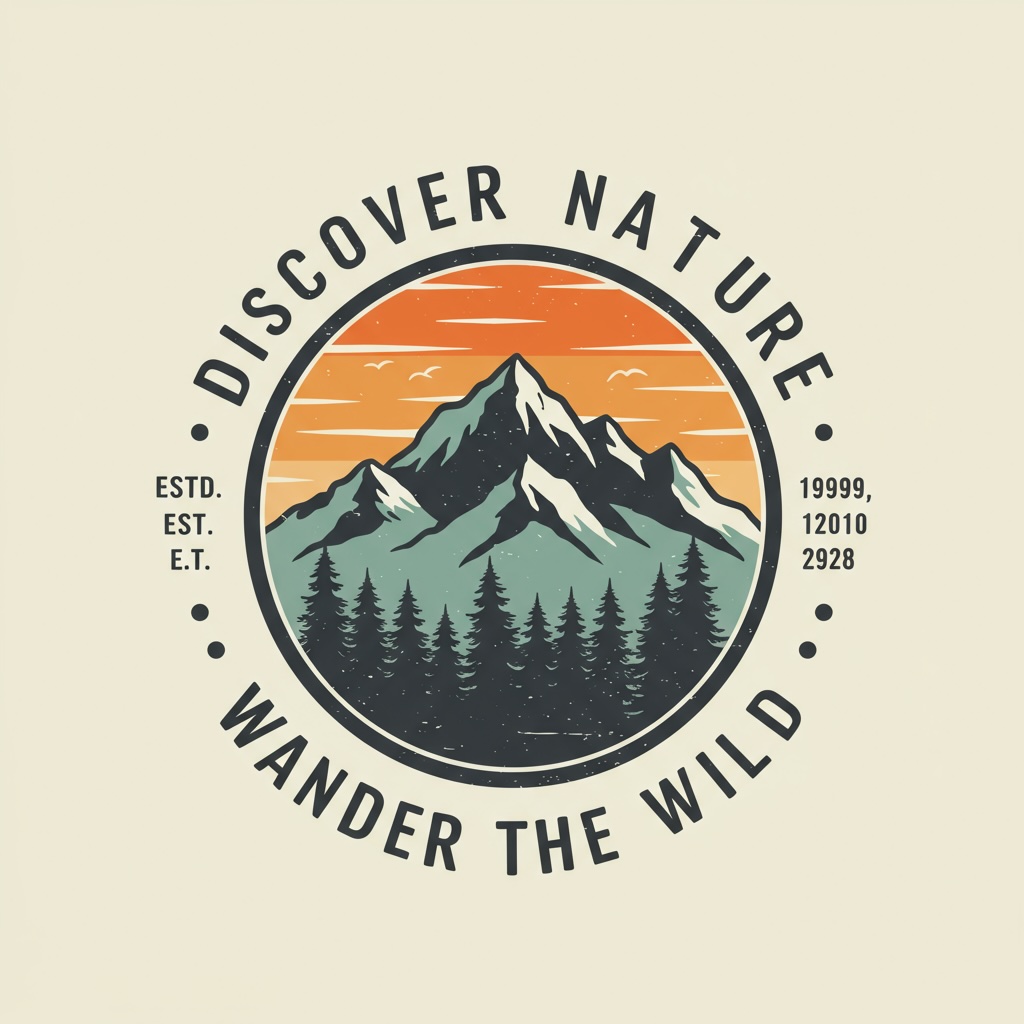
Integrating Text into AI-Generated Images with Go
Introduction to Text Integration in Image Generation
Welcome to the final lesson of this course on creating images with Gemini 3.1 Flash using Go. In previous lessons, you explored various aspects of image generation, including crafting effective prompts and using photography modifiers. Now, we will focus on integrating text into your images, a powerful feature that can enhance the visual storytelling of your creations. Text integration allows you to add meaningful context or branding elements to your images, making them more engaging and informative.
In this lesson, you will learn how to construct prompts that guide the AI to place text within images effectively. We will also cover how to generate these images using the same generateGeminiImages REST helper from earlier lessons and save the results to files in Go. By the end of this lesson, you will be equipped to create images with text that can be used for various applications, such as logos, posters, or digital art.
Constructing Effective Prompts for Text Placement
Creating effective prompts is crucial for guiding the AI to generate images with text. When constructing prompts, consider the following guidelines:
- Character Limits: Keep text short, ideally 25 characters or fewer, to ensure clarity and readability.
- Multiple Phrases: Use up to three distinct phrases to provide additional information without cluttering the image.
- Text Placement: Specify where you want the text to appear, such as "at the top arc" or "at the bottom arc."
Let's break down an example prompt:
"A circular emblem featuring a central image of a mountain. At the top arc, the text 'Adventure Awaits' is curved gracefully, and at the bottom arc, the text 'Explore the Unknown' follows the curve. The design has a vintage aesthetic with serif fonts."
This prompt provides clear guidance on text placement and style, helping the AI generate an image that meets your expectations.
Generating Images with Text Using Gemini
Now that you understand how to construct prompts, let's generate an image with text using the same helper that sends REST requests to Gemini 3.1 Flash. Here's a step-by-step walkthrough of the code in Go:
In this code, we define a prompt that includes text placement instructions. The helper sends the request to the Gemini API to generate an image using the same Gemini 3.1 Flash request structure from earlier lessons.